Quinoa is growing in popularity across the globe, and for good reason! It’s one of the only grain-like preparations that is a complete protein. It’s helpful for vegetarians and vegans, and it’s a crucial ingredient in cold salads and healthy meals.
Harvesting is a careful procedure. You don’t want to knock the seeds onto the ground, and you don’t want to pick them too early. Know more about your garden by taking daily walks around the beds. Monitor the crop, and you’ll know exactly when to harvest quinoa.
You’ll also want to harvest before the birds get to it. They love tiny seeds, and they’ll decimate the crop when it’s ripe! We’ll use some expert strategies to protect your garden from hungry birds and other wildlife.
What is Quinoa?
Quinoa is an annual herbaceous plant with edible leaves and seeds. Its seeds are more often eaten than the leaves, though both are versatile ingredients in the kitchen.
Grain vs. Pseudograin
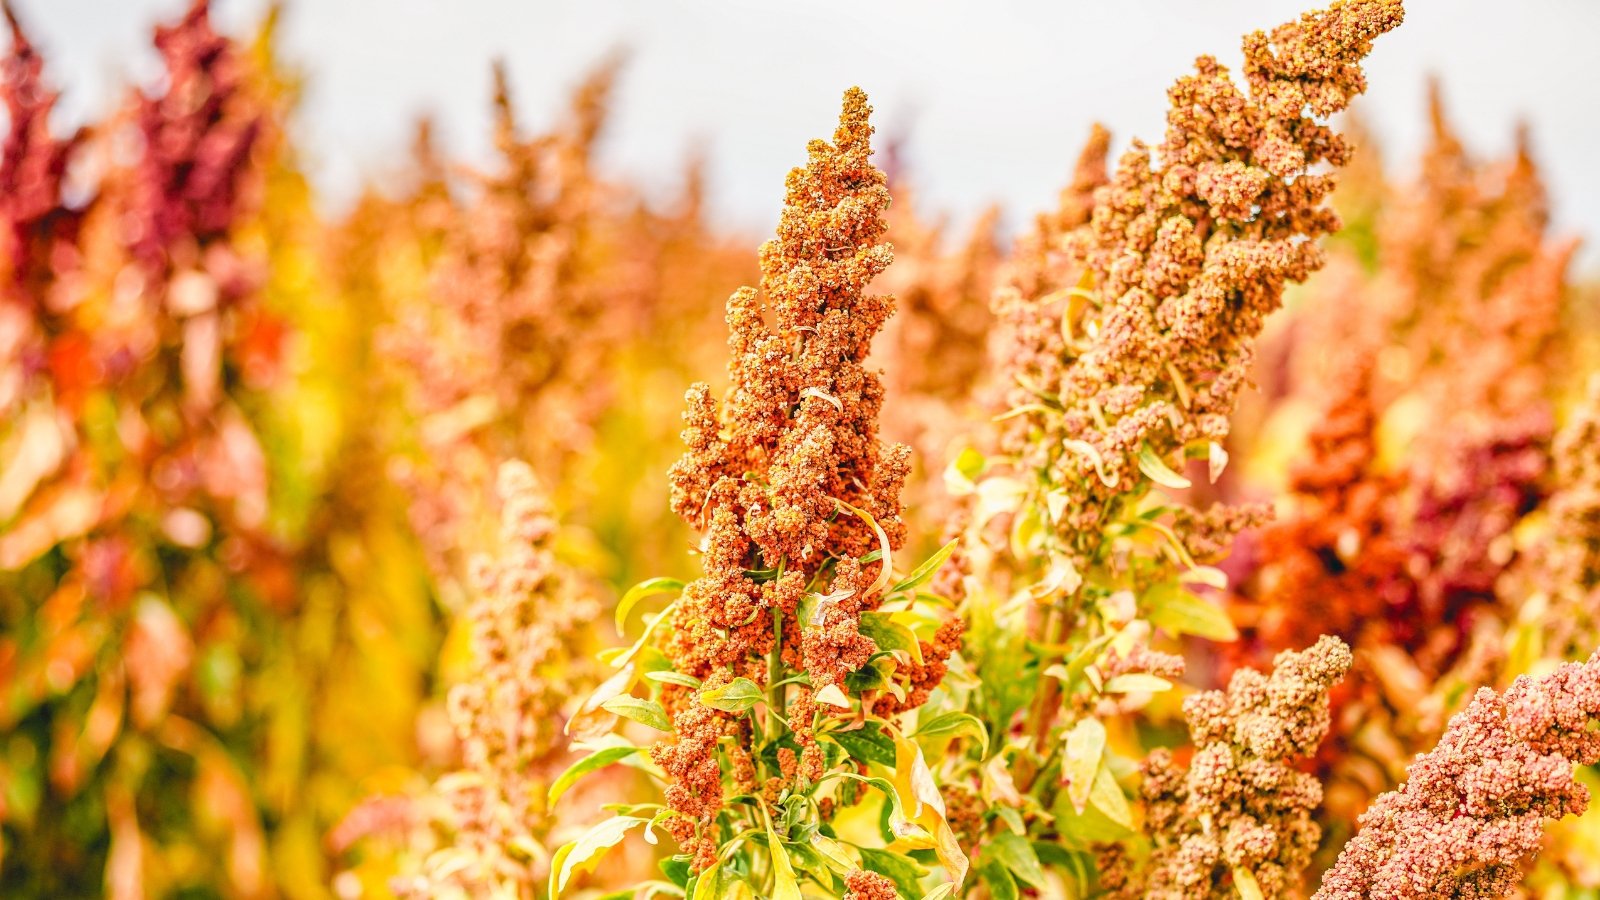
So, what is a pseudograin? Grains come from grasses. They’re from crops like oats, wheat, and rye. Pseudograins look and cook like grainsthough they grow from broadleaf plants and not grasses.
Quinoa is a pseudograinlike amaranth and buckwheat. You may use it like a grain in the kitchen, but the plant itself needs different growing conditions than traditional grasses.
Growing Quinoa
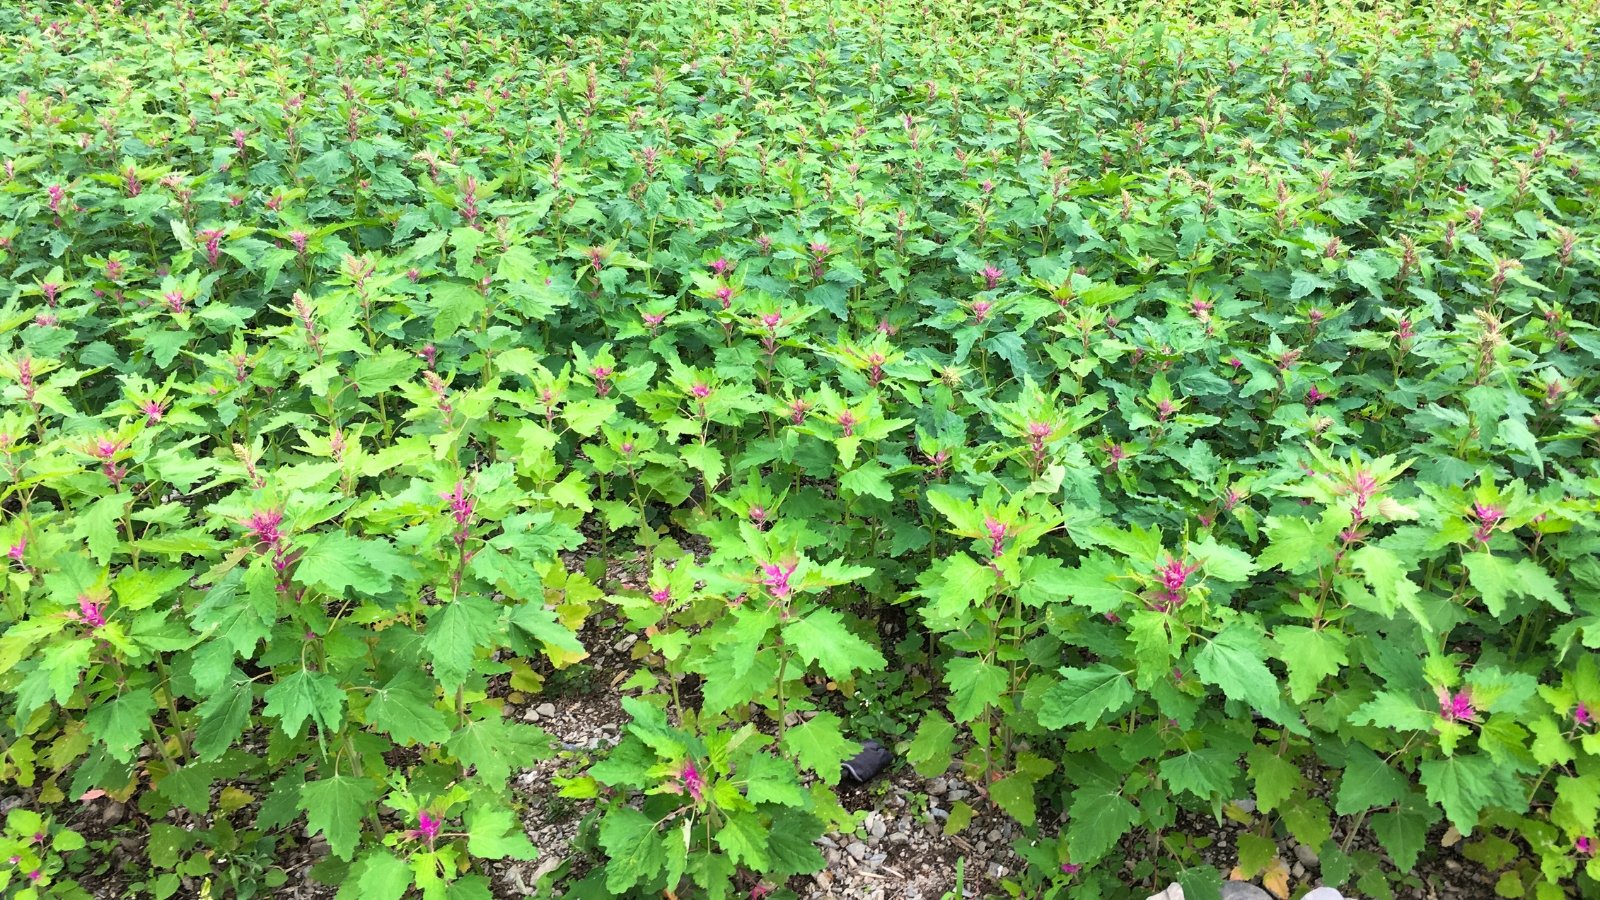
Quinoa originates from the Andes Mountains of South America. It prefers cool, sunny summers free from excessive heat. This means it’ll thrive in similarly mild regions of the U.S., like the Pacific Northwest, Colorado, and northern mountain states.
This annual needs relatively little water compared to other crops, like tomatoes and peppers. It’ll thrive with occasional watering to keep the soil moist, but not soggy.
Well-drained soil is crucial. Quinoa dislikes soggy, wet soils, and it’ll rot in dense clay. Plant it in containers or raised beds to provide extra drainage in soggy sites.
When to Harvest Quinoa
Quinoa ripens over the summer, and it’s typically ready for harvesting in the fall. You’ll want to plan ahead of time when planting. Most quinoa plants grow to three feet talland they need between 90 and 120 days to ripen fully.
Wait for Fall
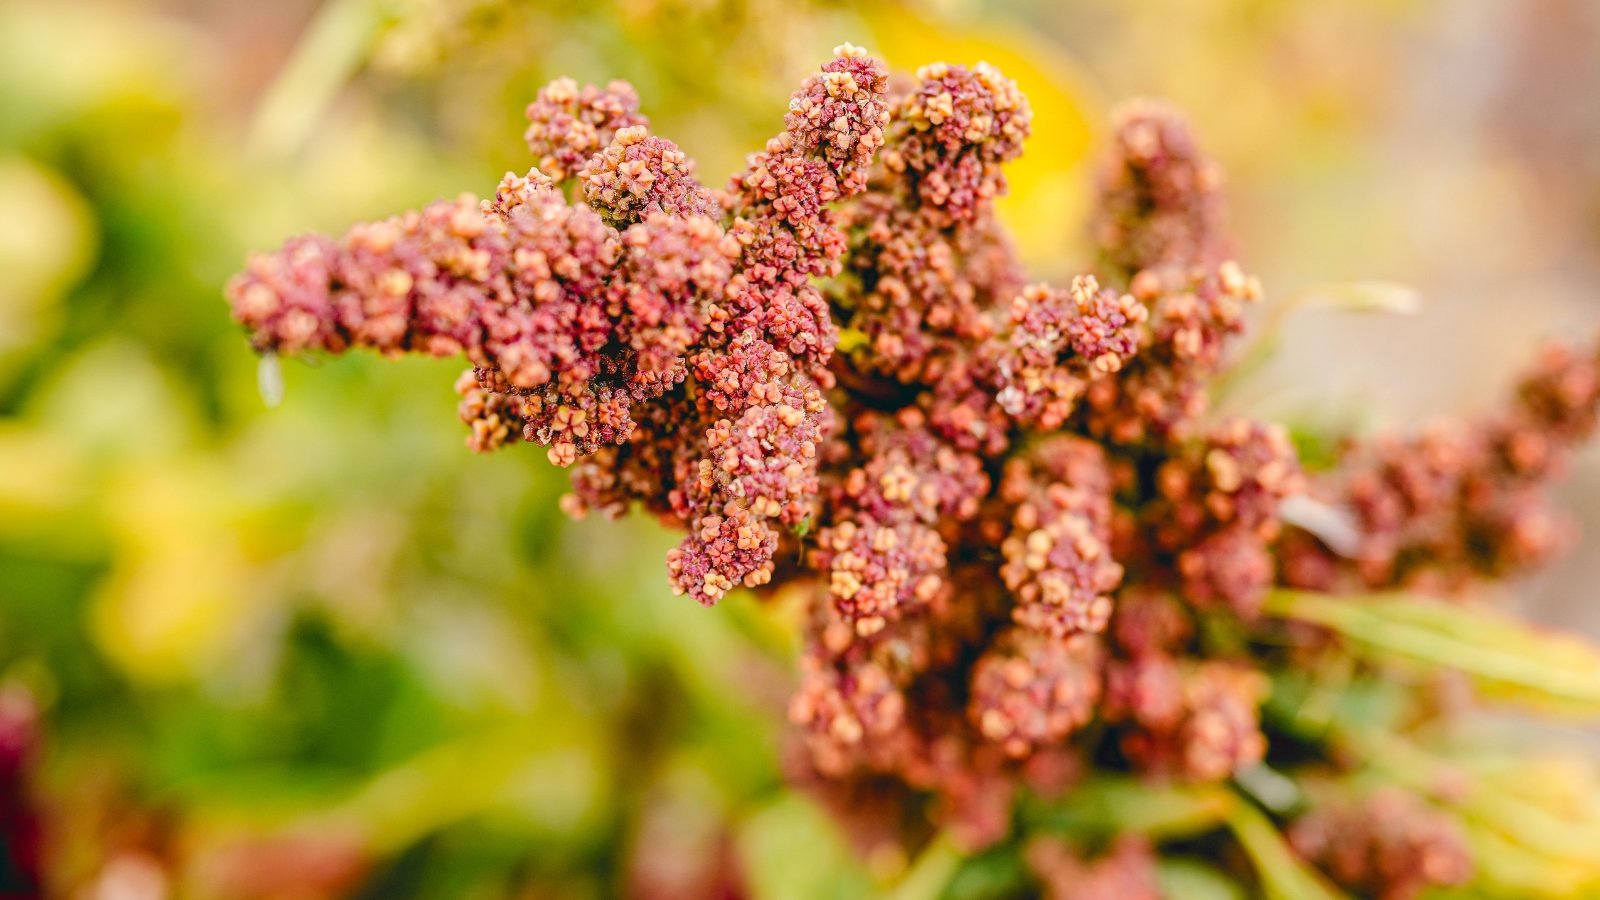
Fall is the season to harvest quinoa! Your quinoa will be ripening alongside winter squashpumpkins, and dry beans. Give it the space and time it needs to thrive, then begin the harvesting process as summer heat shifts into autumn chill.
The downside of fall is the cool, wet conditions that are common during the season. Cool rains create issues for drying harvests. They’ll grow moldy and rot before they’re ready. You want to harvest quinoa after it ripens and before it molds.
Let Fruits Wither
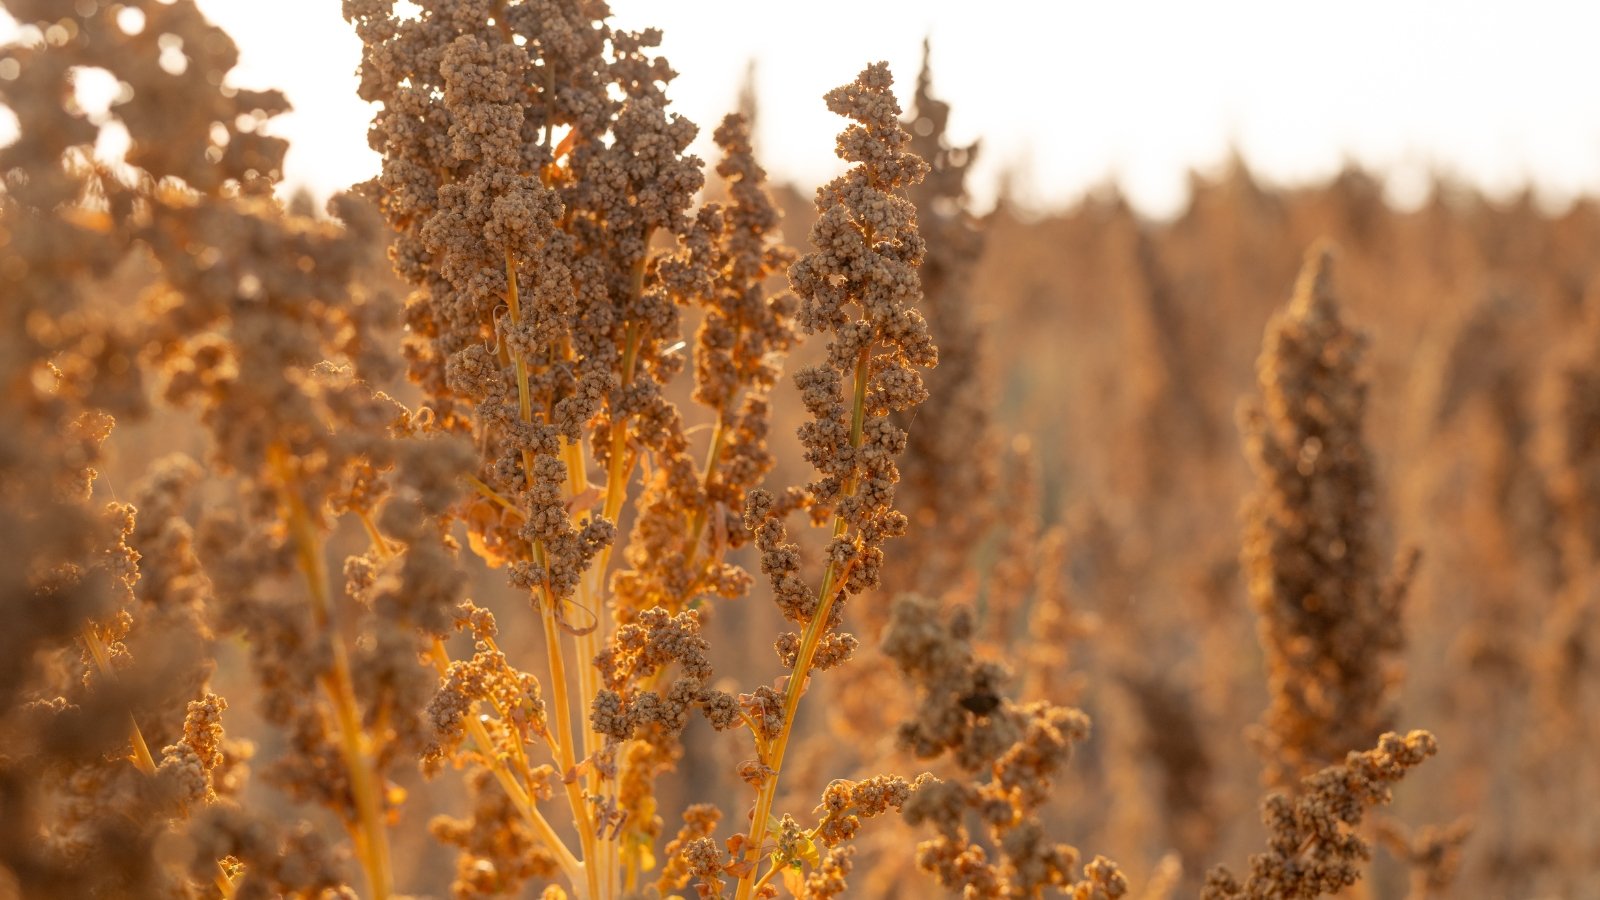
Before seeds form, fruits appear where the flowers used to be. They’re white, red, blackor variations in between the three colors. As the seeds ripen inside, the fruits swell, wither, and then dry.
To prevent birds from getting to the fruits, cover them with mesh fabric. The tight-knit mesh prevents birds and small mammals from eating the fruits before you can get to them!
Seeds will begin falling from the fruits after they wither and dry. Watch them closely to ensure you catch them when they’re ready.
Watch Leaves Drop
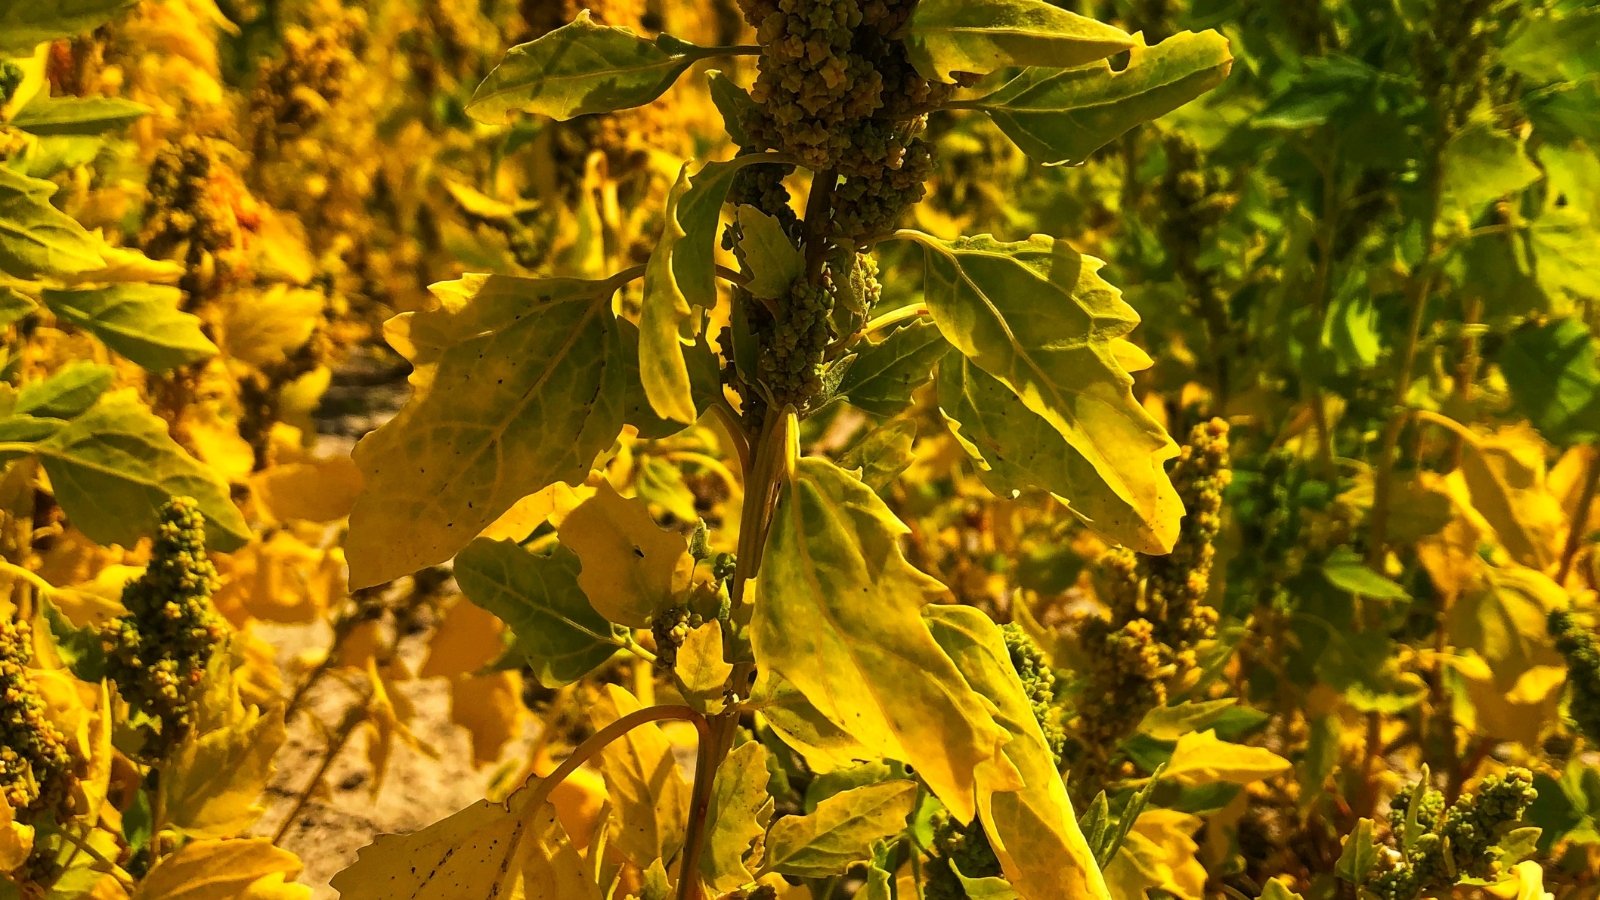
Another sign it’s time to harvest quinoa is when the leaves wither, dry, and turn brown. They’ll fall off the stems as the annual plants die back at the end of the season. Don’t worry, it’s not a bad thing! It’s a natural response the plant has to the changing seasons.
Annual plants die after they produce seeds. They won’t sprout again in spring. You’ll need to save seeds and plant them the next year for another crop.
How to Harvest Quinoa
The leaves drop, the fruits wither, and fall arrives. It’s time to harvest quinoa! Grab some pruners, a brown bag, and seed-storage containers.
Cut Off Stems
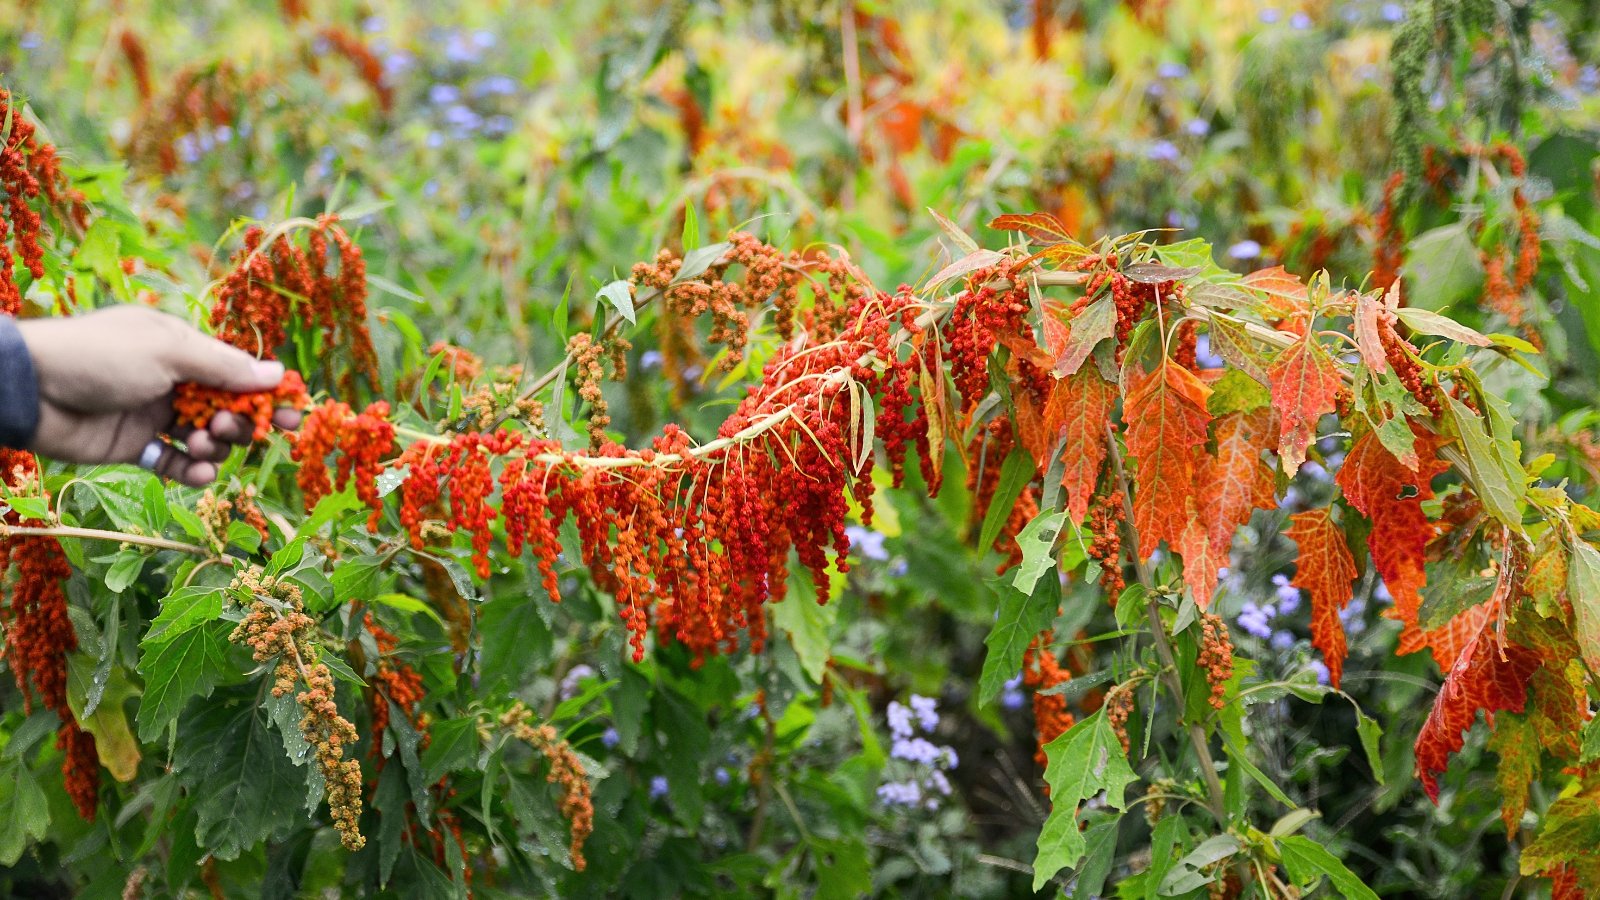
To prevent molds from rotting the seeds, harvest the stems early and let them ripen under your control. You’ll capture more seeds this way than if you let them dry on the plant. Snip them after they’ve fully ripened, but before most of the seeds fall off.
Have paper bags nearby and ready. You’ll snip the stems, then place them upside down in the bags. As the seeds ripen and dry, they fall to the bottom of the bag where they’re easy to collect.
Though it’s not necessary, it’s helpful to remove dead leaves and plant matter before putting the stems in the bags. This will make clean up later on an easy task.
Hang Seed Heads
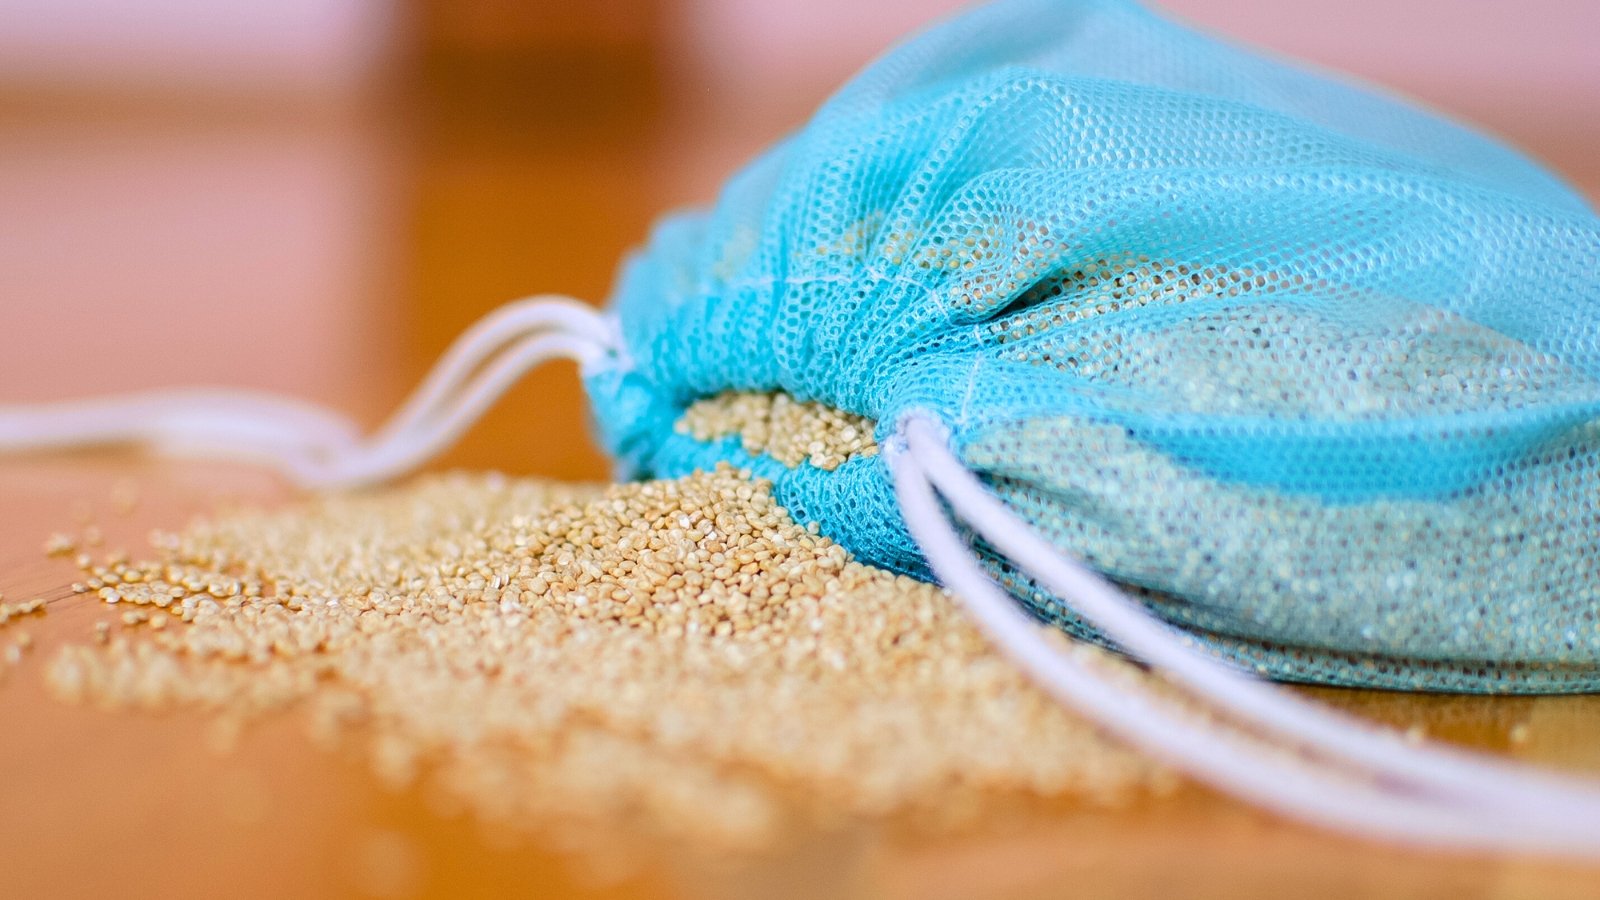
While the seeds ripen in the bags, place them in a warm, dry location. Get the bags off the ground by hanging them up with string or ties. This prevents bugs or dust particles from getting inside. Or, hang them on a doorknob, cupboard handle, or curtain rod!
It’s best to hang the bags inside rather than outside. Birds, insects, and diseases are abundant in the fall garden. They’ll want to eat your seeds before you do! Keep the crop safe and protected by hanging it inside in a warm, dry spot.
Clean Seeds
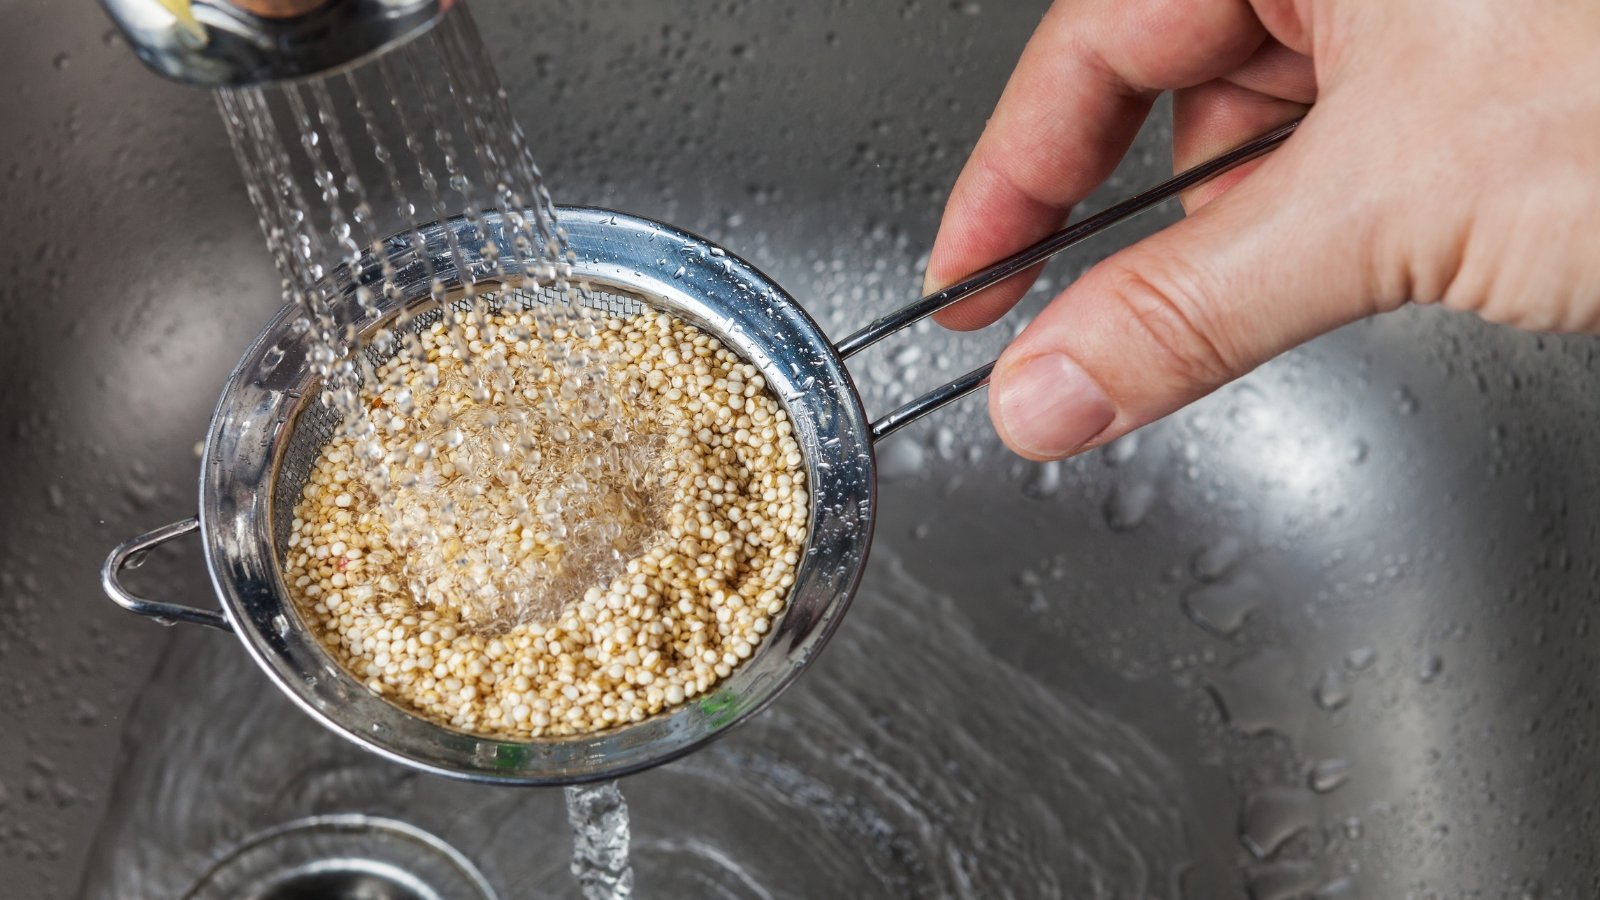
Cleaning isn’t necessary if you’re saving seeds for planting. If, however, you’d like to eat them, you definitely want to clean them. Start by rinsing them in a mesh strainer and leaving them out to dry.
After rinsing and drying your seeds, you may notice some plant matter remains in the mix. Use the power of wind to separate the plant matter, called chaff, from the seeds. This process, known as winnowingis a popular technique for cleaning seeds.
For small amounts, set the seeds in a wide, shallow trayand take them outside. Gently shake the tray and blow with your mouth to lift the chaff from the quinoa.
For large amounts, try using a tote and a fan. Dump the seed mixture into the tote in front of the fan. The wind will blow the plant matter away, and the heavier seeds will fall into the tote below.
Store Seeds
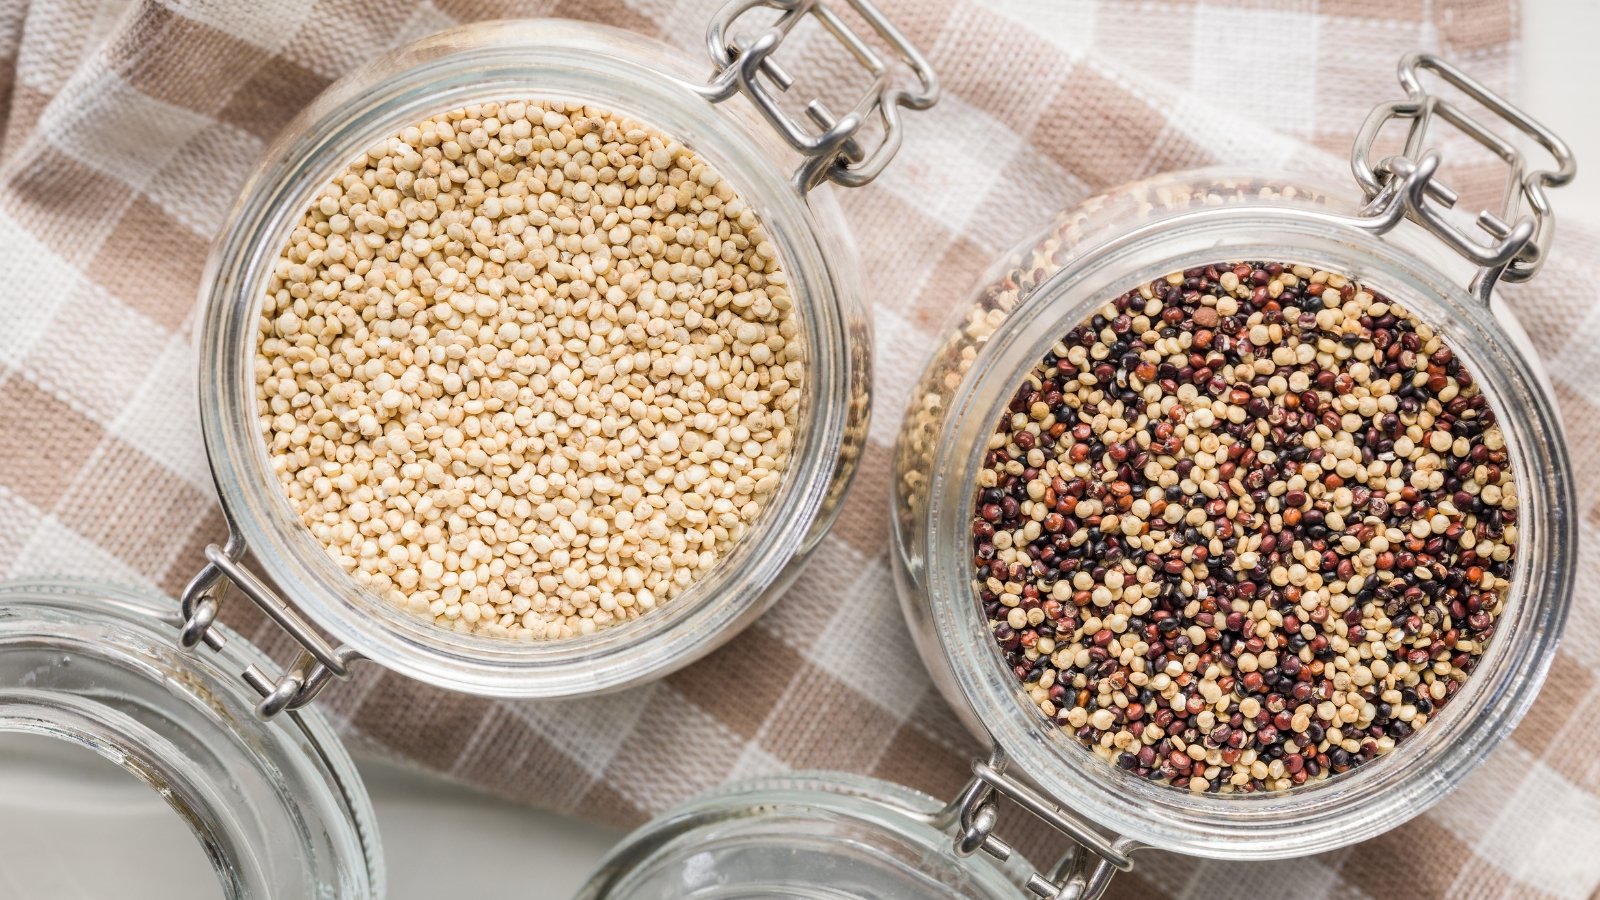
After cleaning the quinoa, store it in containers for planting or eating. Glass jars with lids work well, as do plastic containers. Paper bags work well for short periods, though airtight containers are better for long-term storage.
Seeds will keep for up to three years in airtight containers. Store them in a cool, dark, and dry location. Pantries and cupboards work well, as do cellars and storage refrigerators.
Bonus Tip: Harvest the Greens
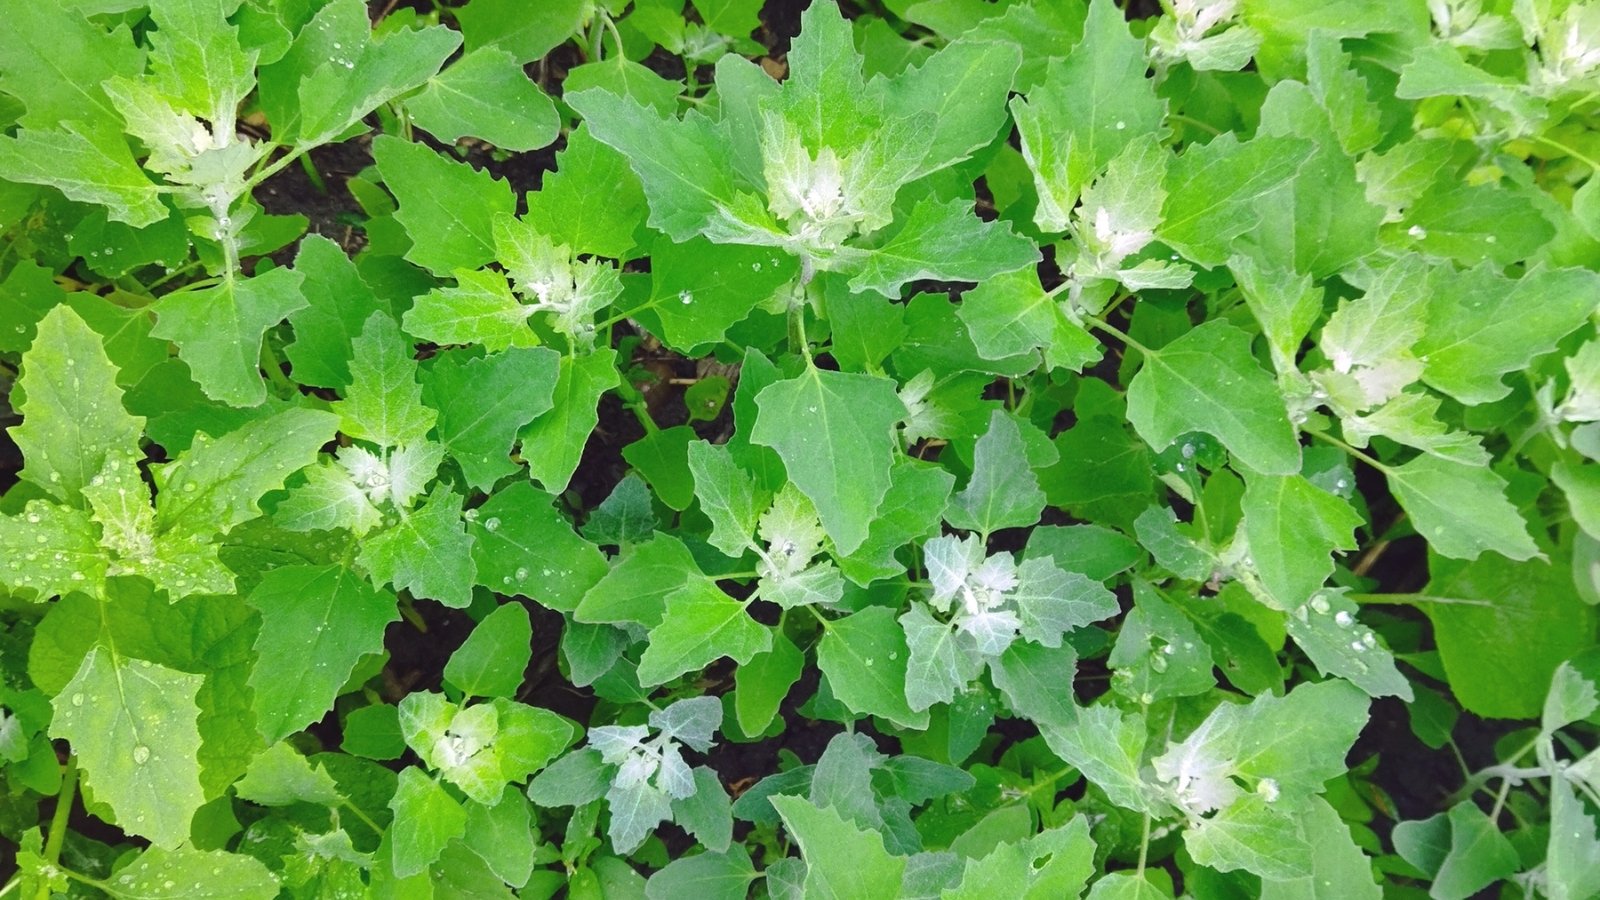
From spring through summer, you may pick the tender quinoa leaves off the plant to enjoy like spinach. They’re a nutty-tasting, tender green, and they work well for fresh eating or in cooked dishes. Use young leaves if you’re eating them fresh, as they’ll taste better than the old, mature ones.
Quinoa greens store for a week in the fridge. They last longer in the freezer. Use the leaves in casseroles, cooked greens dishes, and pasta.
Cooking Quinoa
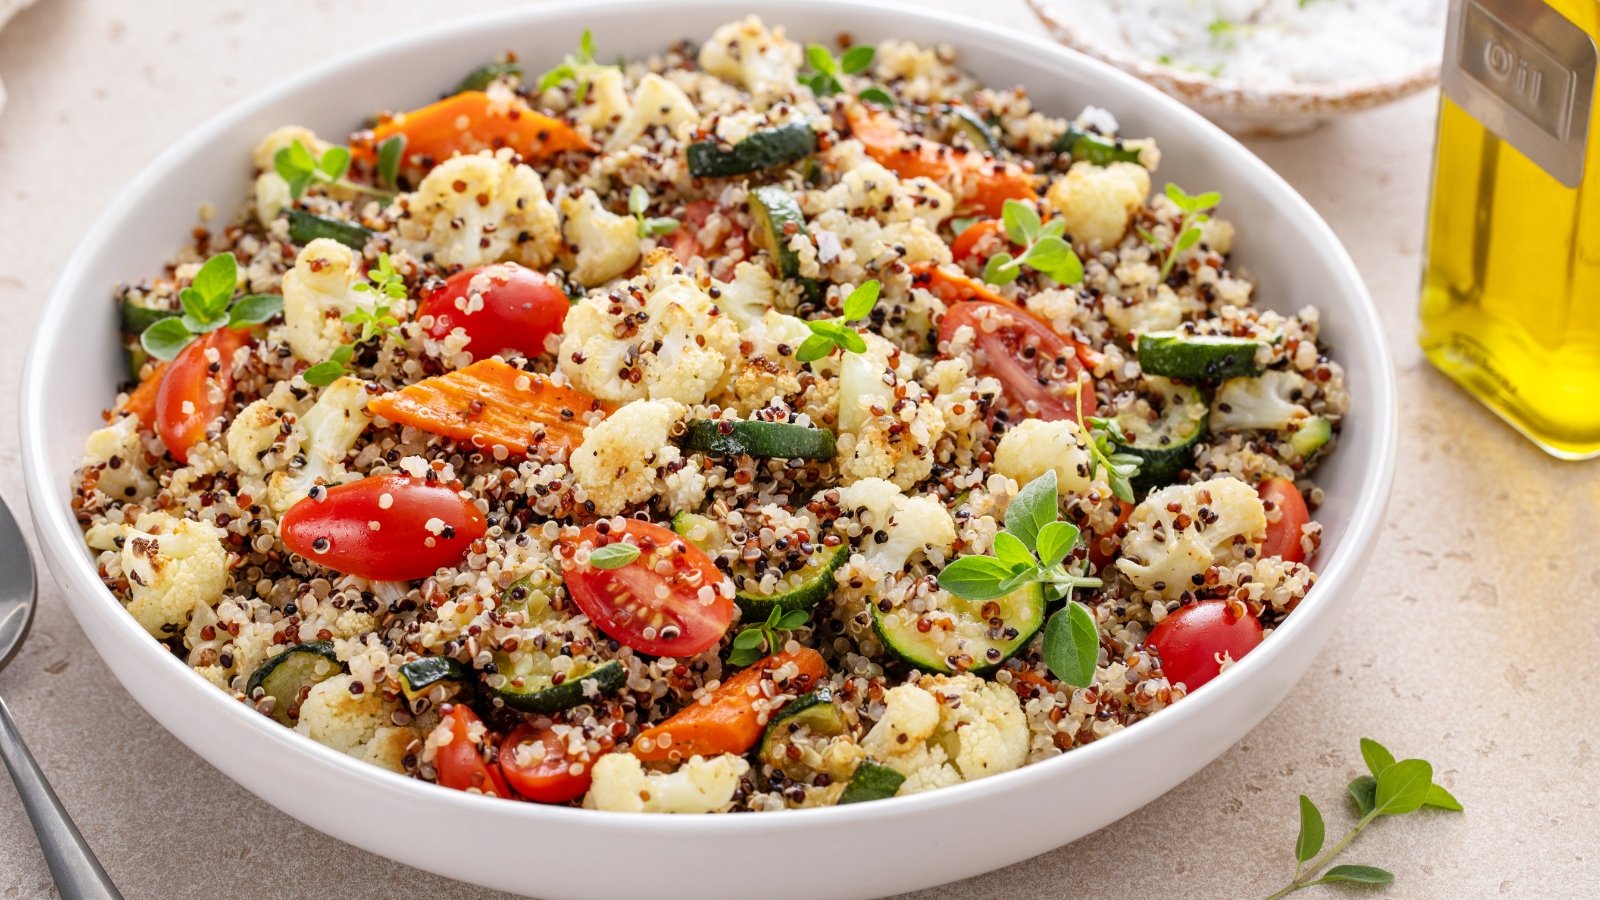
Quinoa is a versatile pseudograin. After you harvest quinoa, cook it like rice with water and saltor grind it and use the flour in breads and pasta. There are endless possibilities!
Because this seed is a complete protein, it pairs well with most other side dishes. Use it as a bed for tofu, or chill it and serve it as a salad with tomatoes and cucumbers.
No matter your cuisine preferences, there’s a way to add this pseudograin to the mix. Consider substituting a grain in your favorite recipe next time you cook dinner.

