Sharing is caring!
Understanding potato growth stages is key to achieving a healthy, productive crop. By knowing what to expect and spotting issues early, gardeners can take corrective action to protect yield and quality. After decades of growing potatoes in raised beds, mounded rows, and containers, I’ve developed a step-by-step approach to identify each growth stage and troubleshoot common problems.

1. Sprouting Stage (0–2 weeks)
Signs:
- Seed potatoes begin to sprout in soil.
- Small green shoots emerge above the surface.
Common Issues:
- Rotting seed potatoes: Caused by excessive moisture or poor drainage.
- Slow sprouting: Often due to cold soil or poor-quality seed.
Solution:
- Ensure soil is well-draining.
- Plant certified seed potatoes and maintain moderate soil temperatures.
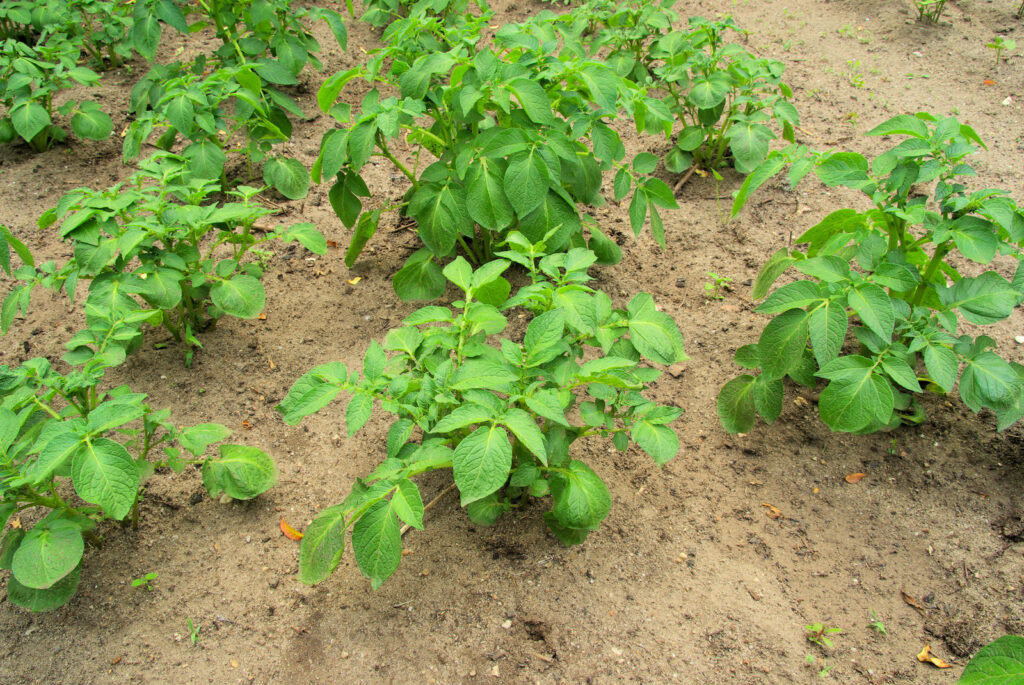
2. Vegetative Growth Stage (2–6 weeks)
Signs:
- Rapid leaf and stem development.
- Plants 6–8 inches tall.
Common Issues:
- Yellowing leaves: Could indicate nutrient deficiency or overwatering.
- Pests: Aphids or flea beetles may attack young foliage.
Solution:
- Fertilize with balanced organic nutrients.
- Inspect plants regularly and remove pests manually or use organic treatments.
3. Hilling & Tuber Initiation (6–10 weeks)
Signs:
- Plants reach 6–12 inches tall.
- First tubers start forming underground.
Common Issues:
- Exposed tubers: Sunlight causes greening and solanine development.
- Shallow root systems: May limit tuber size.
Solution:
- Hill soil around stems.
- Mulch to maintain soil moisture and temperature.
4. Flowering Stage (8–12 weeks)
Signs:
- Potato plants begin flowering.
- Indicates active tuber development.
Common Issues:
- Flower drop or failure: Heat stress or insufficient water.
- Pest damage: Colorado potato beetles may target flowers.
Solution:
- Maintain consistent watering.
- Control pests promptly with physical removal or organic insecticides.
5. Maturation & Foliage Dieback (12–16 weeks)
Signs:
- Leaves turn yellow and dry.
- Tubers have fully formed, skin thickens.
Common Issues:
- Premature dieback: Often due to disease or drought stress.
- Undersized tubers: Can result from inconsistent watering or overcrowding.
Solution:
- Harvest when foliage is fully yellow.
- Ensure proper spacing and consistent watering during tuber growth.
Gardener’s Tip:
In my Sonoma Valley garden, I regularly inspect plants through all growth stages. Early intervention—watering, hilling, and pest control—prevents most yield losses and ensures high-quality potatoes.
Potato Growth Stage & Troubleshooting Guide
| Growth Stage | Key Signs | Common Issues | Solutions |
|---|---|---|---|
| Sprouting (0–2 weeks) | Shoots emerging from soil | Rotting seed, slow sprouting | Use certified seed, ensure well-draining soil, maintain moderate temperatures |
| Vegetative Growth (2–6 weeks) | Rapid leaf and stem development, plants 6–8 inches tall | Yellowing leaves, aphids, flea beetles | Apply balanced organic fertilizer, inspect and remove pests |
| Hilling & Tuber Initiation (6–10 weeks) | Plants 6–12 inches tall, first tubers forming underground | Exposed tubers, shallow roots | Hill soil around stems, mulch for moisture and temperature control |
| Flowering (8–12 weeks) | Flowers appear on plants, active tuber growth | Flower drop, pest damage (Colorado potato beetles) | Maintain consistent watering, control pests promptly |
| Maturation & Foliage Dieback (12–16 weeks) | Leaves yellow and dry, tubers fully formed | Premature dieback, undersized tubers | Harvest when foliage fully yellow, ensure proper spacing and consistent watering |


