

Indoor seed starting is a great way to get a good start on the spring season in many regions of North America. This ensures plants that take a long time to mature are ready to transplant when the soil warms.
While you can spend money on a fancy setup, it’s totally possible to have a DIY seed starting station budget that doesn’t exceed $50.
It takes some planning and more effort than ordering your setup online, but the extra energy you put into sourcing your materials pays off! You can have just as much success with items you find around your home as you would with an expertly crafted kit.
You can do most of your seed starting without spending any money at all. Gathering containers and soil is easy if you already have a garden. If you don’t, fellow gardening friends, and even the community of online gardeners can help!
The Container Collection Seed Bundle
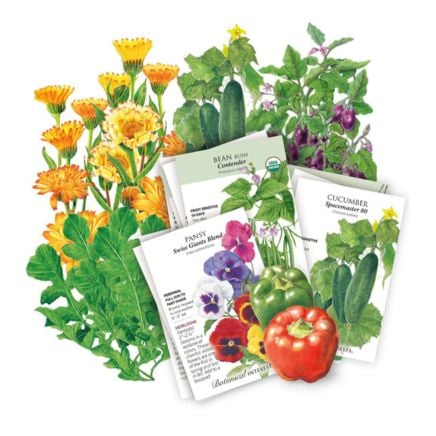
The Container Collection Seed Bundle
Chef’s Herb Garden Seed Bundle
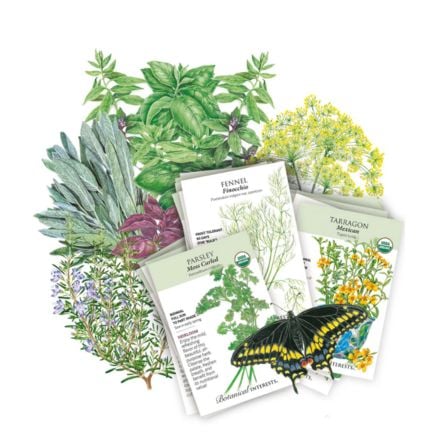
Chef’s Herb Garden Seed Bundle
Pollinator’s Paradise Seed Bundle

Pollinator’s Paradise Seed Bundle
The Basics: Know What You Need

To begin, you should make a list of the items you need to help you determine where to source them. A basic seed starting setup has some essential itemsand those you can include or not.
Here’s what you need to start seeds:
- Seed starting containers
- Seed starting mix or soil
- Seeds
- A light source
- A way to water them
Here are the items that help you control the conditions in your seed starting area. These can also be household items. They don’t have to be expert-level for you to grow healthy plants. However, if you manage to save money on the rest of your items, you can splurge for one of these and still meet the $50 DIY seed starting station budget:
- Grow light
- Heat mat
- Seed starting trays
Seed Starting Containers
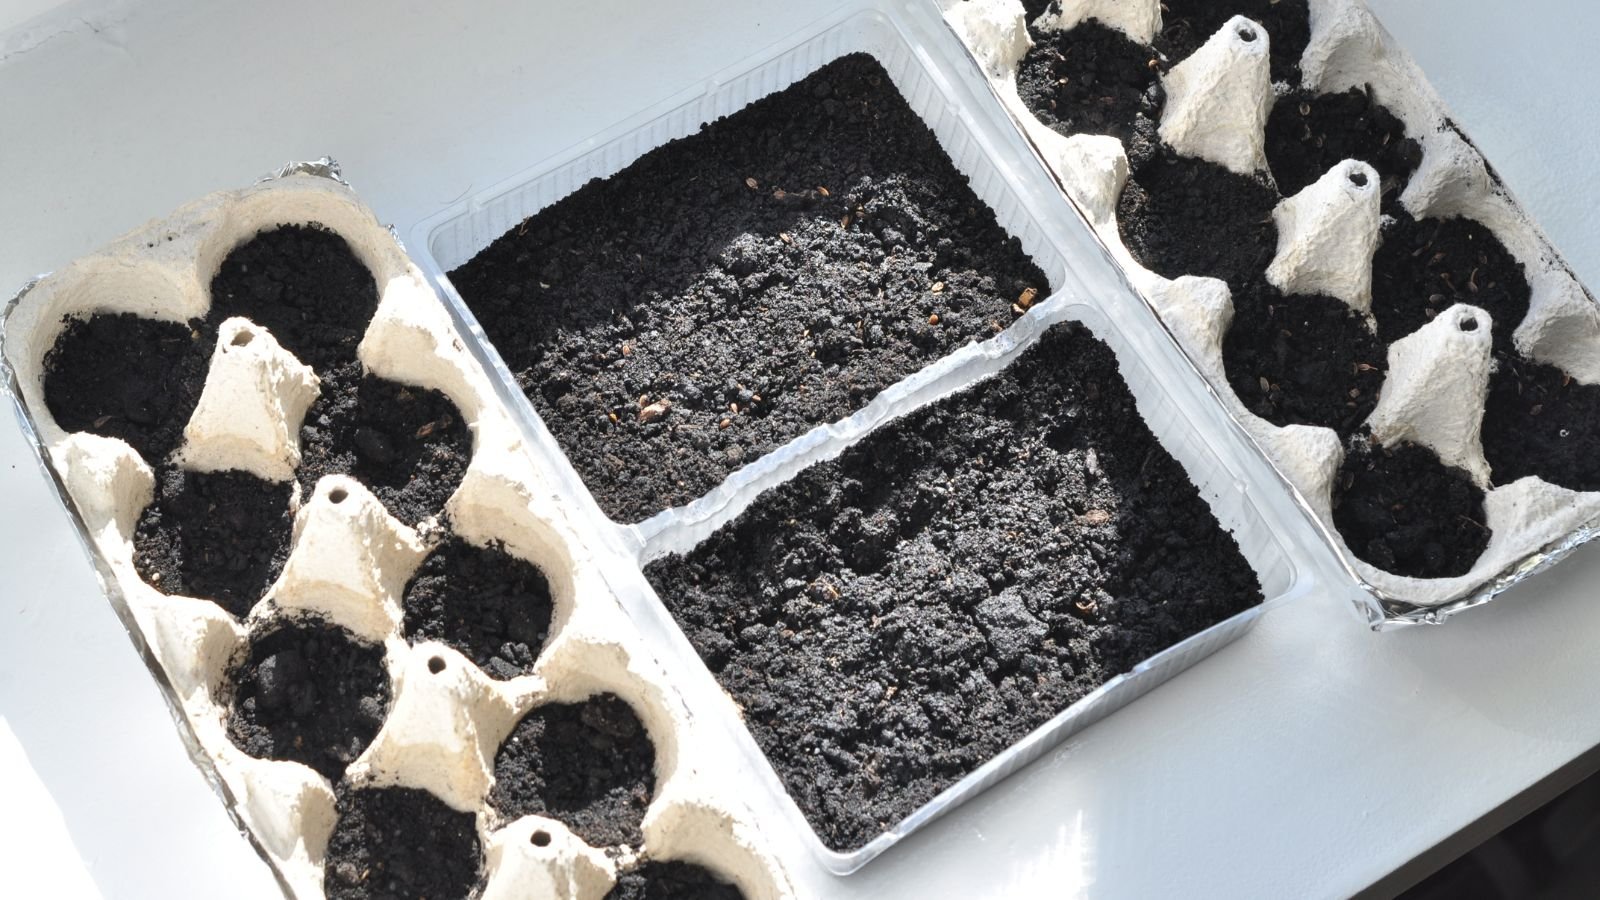
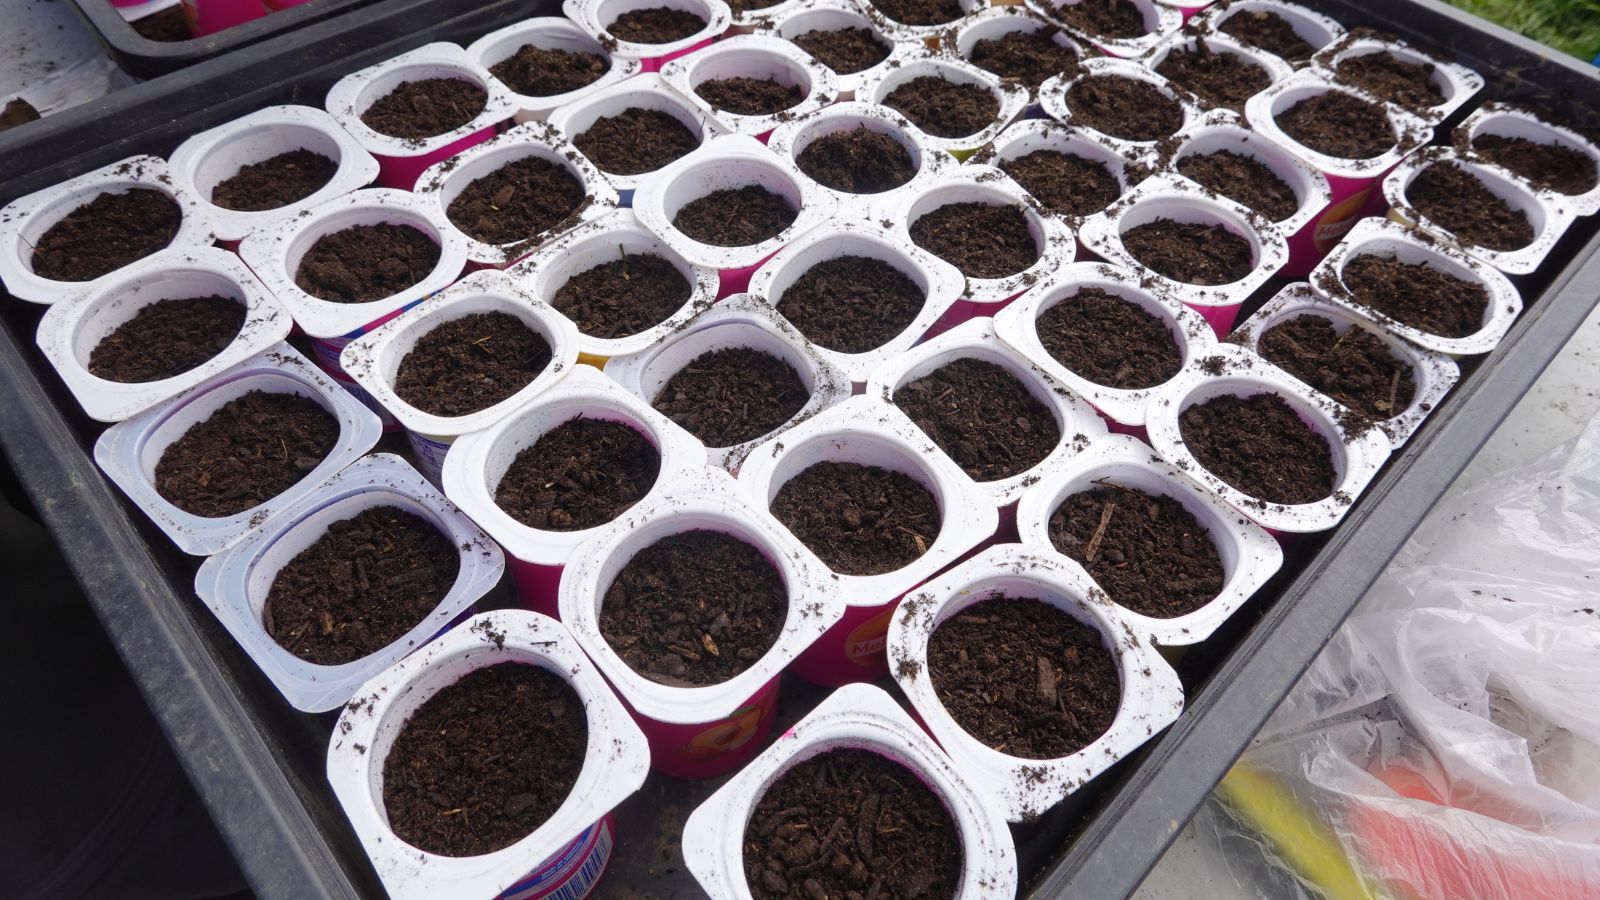
Your starter pots are the easiest item to gather without spending any money. You don’t have to buy a reusable plastic starter tray! Instead, repurpose plastic containers from food items in your home. Gather yogurt containers, or those that held microgreens. Even toilet paper and paper towel rolls can be modified to hold soil for seed starting.
One source people don’t always know about is their local nursery. Often nurseries go through 5-inch pots and have tons leftover at the start of the season. Check in with someone there to see if they need to offload some of those. These are large for smaller seedlings, but they work. They’re perfect for tomatoes and peppers.
Other possible candidates to keep your DIY seed starting station budget cheap are takeout containers, egg cartons, milk jugs, and even newspaper. Sterilize the plastic containers before using them, and remove any debris in those that can’t be washed. Make drainage holes in containers that don’t already have them.
Soil

While soil can be expensive, it doesn’t have to be. If you already have a garden, repurpose soil from containers that no longer house plants. If you have a compost pile, even better! All you need is something for drainage, like a bag of perlite, which you can find at big box stores for under $10.
Even your native soil works for seed starting as long as you amend it. To start, let’s discuss the best seed starting mix recipe.
- ⅓ moisture-retention ingredients (such as coir or peat moss)
- ⅓ drainage ingredients (such as pumice or perlite)
- ⅓ fillers like compost or fertility-based ingredients like worm castings.
If you don’t have these on hand, there are ways to source them for free. Check your local online marketplaces to see if people have free compost and leaves. If you have already contacted your nearby nurseries, they may have compost they want to get rid of. Ask them about their blend. It may already contain the elements needed to grow your seeds.
If you have to buy the ingredients, you can do that easily for well under $20. But even bags of seed starting mix aren’t that expensive. Remove any large chunks to maintain the fine texture needed for young roots to penetrate. Do this with a sieve or with your hands – whatever fits your DIY seed starting station budget.
Trays
Having a tray underneath your containers to catch water is helpful, and sometimes essential, depending upon the situation. At least one of my trays is a repurposed cookie sheet that leaves the kitchen while I’m starting seeds. Then I clean it up and pop it back in the cupboard for the rest of the year.
Those takeout containers you used can also be your trays. Anything non-porous with a lip can be a tray to catch any excess water and ensure your seedlings soak it up. If you’re using a heat mat, use a tray that won’t degrade in contact with heat.
Universal bottom trays are great, but they’re not essential. Something to catch the water, and keep it contained so it doesn’t run out and get your table wet is good. Also of note: ensure the water doesn’t reach any electrical wires or outlets.
Light and Water

A source of light and water are two essential things you need to start seeds. If you have a warm, south-facing window (southern hemisphere growers need a north-facing window) with plenty of sunlight, you can grow seeds without supplemental lighting.
If you don’t have the power of the sun at your disposal, a shop light or LED light strips work well. You can spring for an expert grow lightwhich can be inexpensive. Your local thrift store could stock grow lights or other lights suitable for seed starting, too.
I’ve given away grow lights that didn’t work for my setup, so check in with your gardener friends to see if they have extras lying around.
You also need to remember to water your seedlings. Water from the bottom by filling the bottom trays with an inch of water when needed. For porous containers, water lightly from above. A spray bottle is great for this, as it doesn’t disrupt tender seedlings as much as pouring a stream of water over them.
Heat Mats and Heat Sources

Sources of heat are not necessary in areas where the temperature remains at least 60°F (16°C). However, if you’re like me, and you’re starting your seeds in an attached but not climate-controlled garage (or a similar area), you’ll need some heat.
Heat mats aren’t pricey, but you don’t have to have one to keep your seedlings warm. Throw your seedlings on top of your refrigerator or laundry dryer to keep them warm. Christmas lights or LED string lights wrapped around slats on a wooden board double as a heat mat. Heating pads on the lowest setting work in a pinch, too.
In that cold garage during winter, it’s nice to have a space heater to keep the ambient temperature balmy enough for your baby plants. Keep an eye on your space heater and turn it off when you leave to prevent fires. However, if you start seedlings that like a bit of cold, you might not need more than your DIY heat mat.
Seeds

The most important aspect of seed starting? Seeds, of course! You need them to grow plants. While seed packets are not that expensive, it’s easy to spend more than your $50 DIY seed starting station budget on them when you have a flashy catalog in your face.
There are ways to collect free seeds, though. Check in with your library to see if they have a seed library. If your friends are anything like me, they have extra seeds to share. You can also collect seeds in stands in the wild.
If you need a cheap source for seeds, check your local big box store to see what they have. Stay within your budget for the best bang for your buck, and always consider what you have space for.

Key Takeaways
Once you get all the basic elements together, set them up, and get growing! Use your seed packets to determine when to start your seeds and when to plant them out. If you have a short season to contend with, getting a head start is great – just make sure you have larger pots to move your seedlings into when they’ve outgrown their starting containers.
Most of all, have fun! Starting seeds is a lot of trial and error, but the process is always worth the knowledge and understanding you gain. If you fail, try again. I always lose at least a couple of seedlings due to low germination rates, overwatering, or other conditions. You live, and you learn.