

These Mason jar solar lights are a super easy, budget-friendly, and cute way to add some light and whimsy to your backyard nights. Using the power of the sun, they automatically light up at night while you’re outdoors enjoying the warm evening air.

I love entertaining outdoors at this time of year because it’s warm enough at night that a garden party does not need to end when the sun goes down. All you need is a way to keep bugs at bay and a little something that glows!
I originally made these Mason jar solar lights years ago, and they’ve remained a staple in my backyard garden. They’re one of the most budget-savvy ways to add some outdoor lighting and to set the ambience.
You only need three materials to make these lights, including old Mason jars, which you probably already have lying around and ready to be reused. Let’s get crafty!
How to Make Mason Jar Solar Lights
Using just three materials and a wee bit of time, you will quickly have stylish Mason jar solar lights to illuminate the garden or patio on these late summer nights.
Materials
Make It
The most challenging part of this project is finding the solar lights that have removable tops and the pretty Mason jars to fit them. This took me all of 10 minutes.
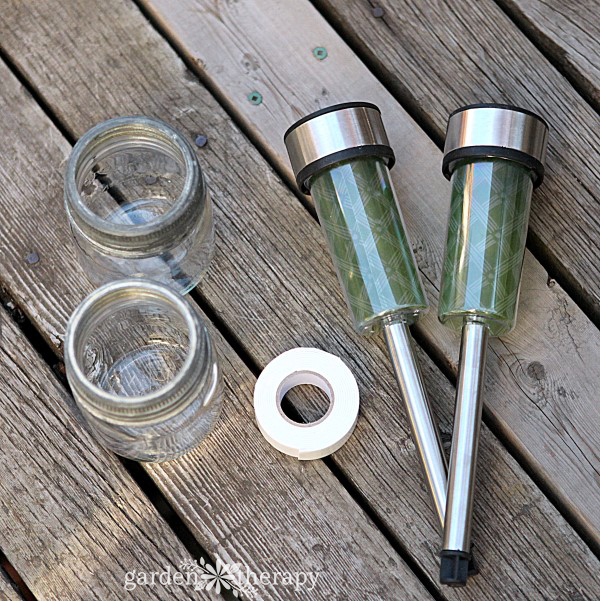
I bought the lights at a grocery store for $2 each and have a large collection of jars that I sorted through until I found the right ones. I found my lights at the Real Canadian Superstore, but I have also seen them at Target, Walmart, and dollar stores as well.
Now, you can easily find just the tops of the lights on Amazon. These are great because you’re not wasting the stake bottom, since it won’t be needed for this project. You can find them here and here.
There is also a company that makes solar lids specifically for Mason jars – who knew!?
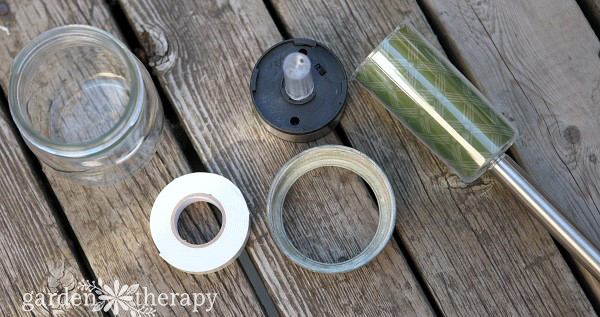
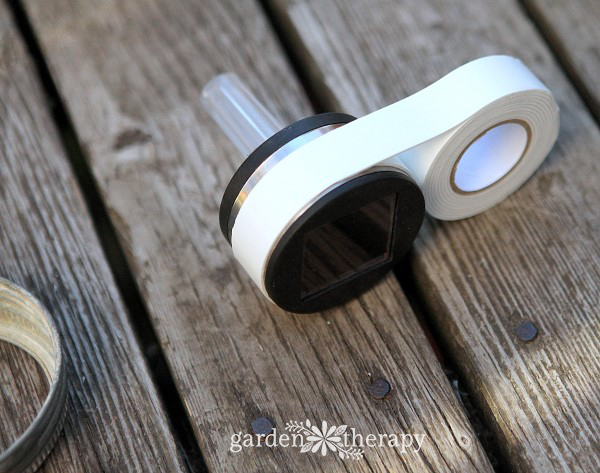
As the solar light was a bit smaller than the Mason jar ring, I used a piece of double-sided foam tape to make it just a smidge widerand it fit inside perfectly.
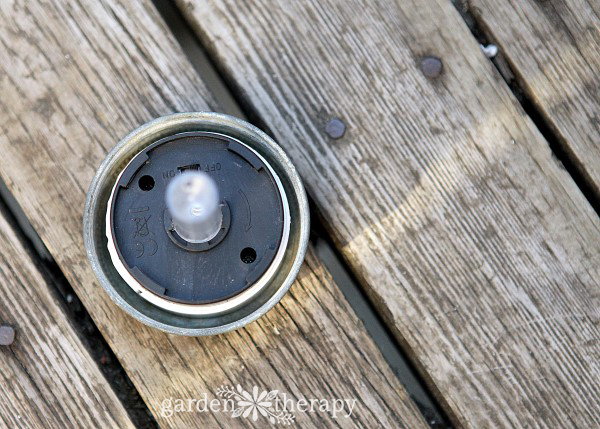
Don’t remove the paper from the other side of the tape so that the light can be removed from the jar. There is often an on/off switch on the light that you will still want to access. Alternatively, glue the light to the top inside of the ring to make a solid cap that can be removed.
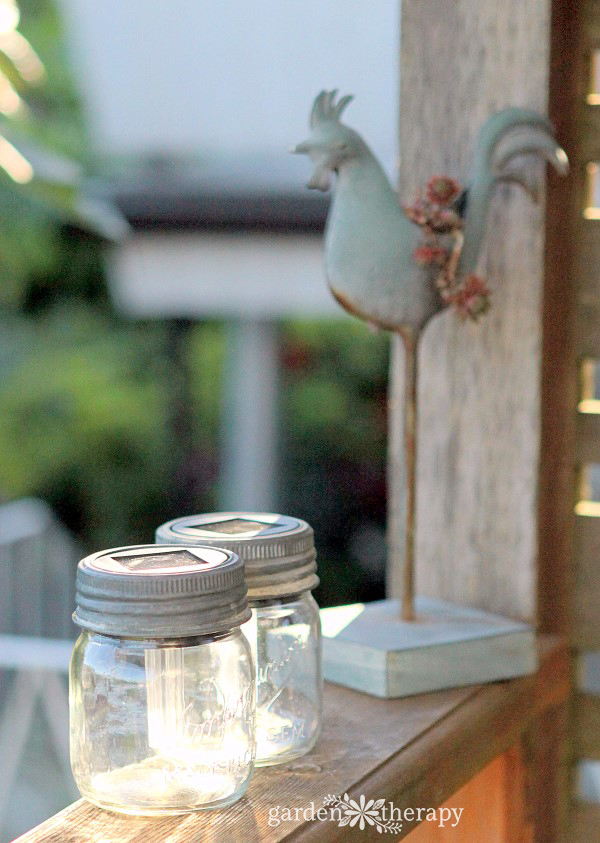
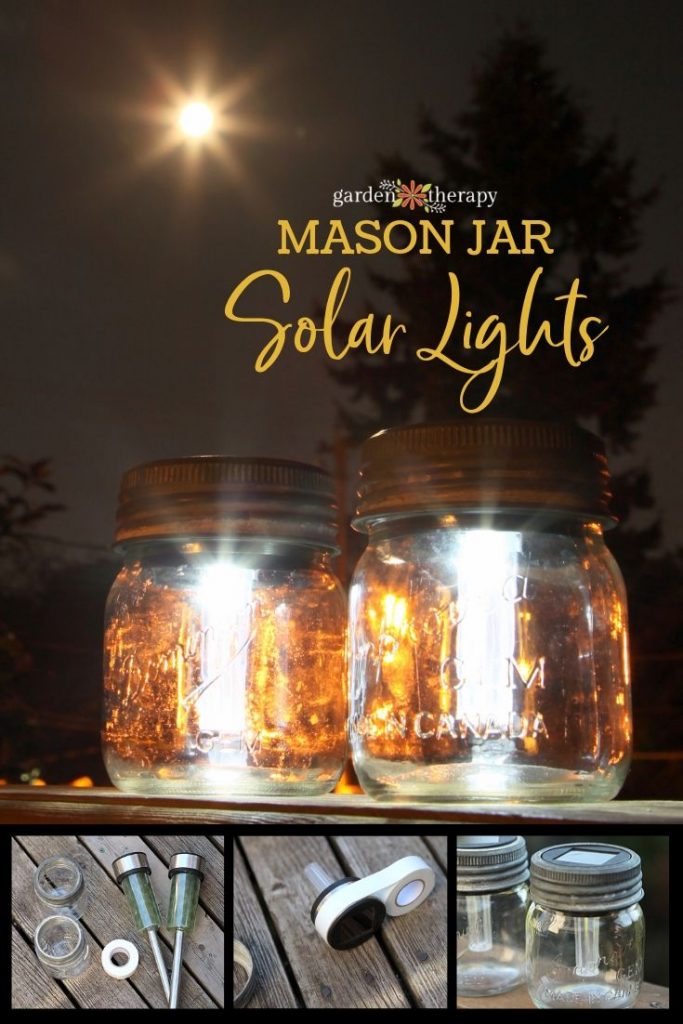
Set out in the sun for 4-8 hoursand your new Mason jar solar lights will be charged and ready to light up the night.
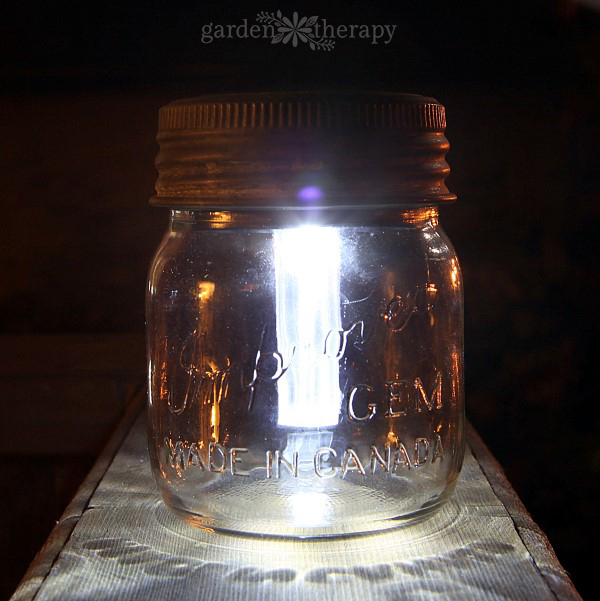
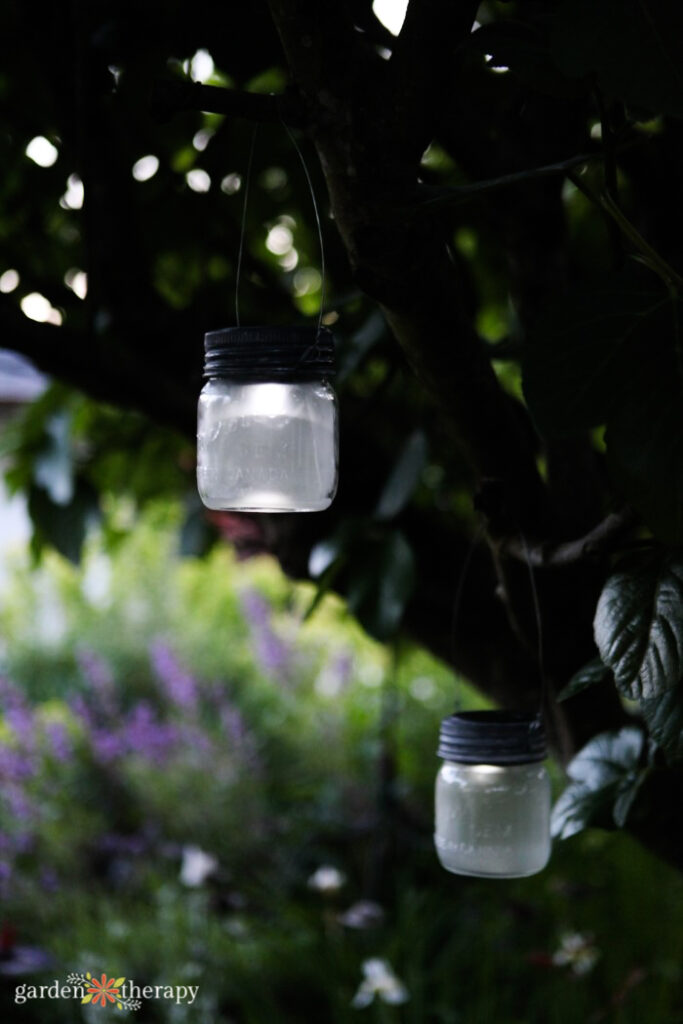
I particularly love the reflection of the label on the wood below. They also look beautiful nestled on the ground in the garden or yard, or lining a pathway.
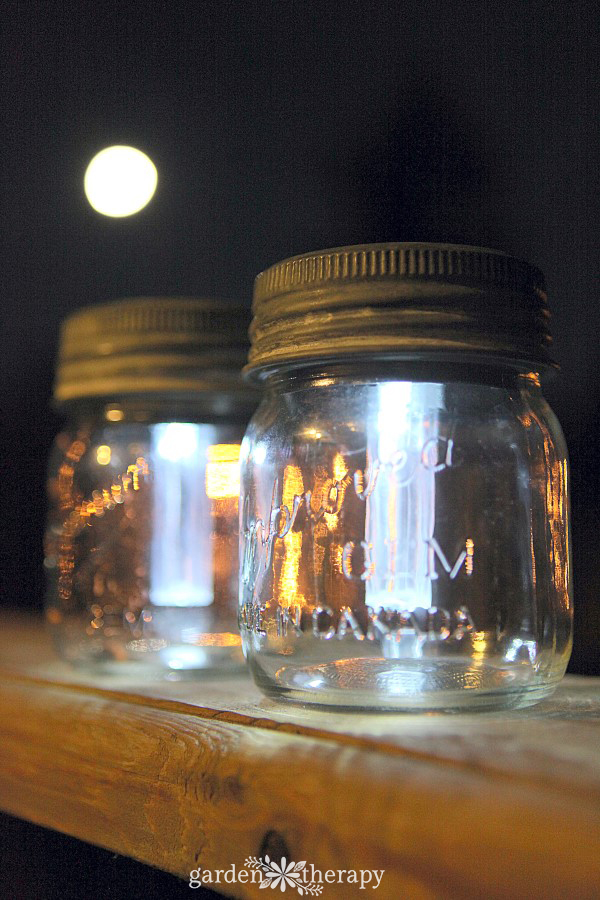
As a side note, check out how cool the moon is. While it was difficult to get a clear photo, the huge full moon was kind enough to pose in the perfect spot for these pictures. Doesn’t it look like the moon and these shining lights were just made for each other?

They remind me of jars filled with firefliesbut are much easier to come by, plus no fireflies were harmed or imprisoned in the making of these Mason jar solar lights.
I frosted the glass and added a handle to these to turn them into solar lanterns as well. You can find the instructions for how to do this in my book, Garden Made.

I can just imagine placing these next to my Fairy Light Chandelier and watching the light reflect off the dangling crystals even more than it already does at night.
More Ways to Illuminate the Night
A city girl who learned to garden and it changed everything. Author, artist, Master Gardener. Better living through plants.