

If you’ve tried starting tomatoes indoors and ended up with weak plants that never really recovered, a greenhouse might be the perfect solution. You can tailor the environment to growing strong seedlings from the start, keeping them protected from the elements. Plus, if you live in an area with a short growing season, you can still get a head start without the challenges of growing indoors.
This guide walks through the whole process to sow tomato seeds in a greenhouse, from timing to transplanting. Your greenhouse will be packed with strong, healthy seedlings in no time.
San Marzano Roma Pole Tomato

San Marzano Roma Pole Tomato Seeds
Chocolate Cherry Pole Cherry Tomato

Chocolate Cherry Pole Cherry Tomato Seeds
Cherokee Purple Pole Tomato

Cherokee Purple Pole Tomato Seeds
Why It Works

A greenhouse gives tomato seeds the two things they need most in those early weeks: warmth and light. Even an unheated greenhouse traps solar energy during the day to keep soil temperatures above what you’d get on a windowsill. Outdoors, the light is also brighter and more consistent than anything coming through a window.
The walls and roof also create a buffer against wind, late frosts, and temperature swings. Seedlings growing in a greenhouse develop sturdier stems because they’re getting light from all directions rather than leaning toward a single window. And because you can control ventilation, you can manage humidity and airflow in ways that reduce the risk of damping off, which is the most common seedling killer.
That said, sowing tomato seeds in a greenhouse isn’t a magic solution. An unheated greenhouse still gets cold at night, especially in early spring, and seedlings left in freezing temperatures will die just as fast as they would outdoors. If you’re starting seeds before nighttime temperatures stay above 50°F (10°C), you’ll need a heat mat or supplemental heat source.
Timing

Start tomato seeds in a greenhouse four to six weeks before your last expected frost date, depending on variety. This is the standard recommendation, and it works for greenhouse growing too. Starting earlier than that sounds tempting, but seeds started too early produce overgrown, root-bound transplants that struggle if you don’t give them larger pots over time.
In warm climates where the last frost comes early, you may only need four weeks of lead time. Count backward from your transplant date and plan accordingly.
Choose a Variety

This is my favorite part of starting tomato seeds in a greenhouse. You’re no longer limited to whatever varieties your garden center stocks, or what is available in grocery stores.
Determinate tomatoes grow to a set size, produce their fruit over a concentrated period, and stop. They’re a good choice if you want a manageable plant for containers or a big canning harvest all at once. Indeterminate tomatoes keep growing and producing until frost kills them. Many heirloom and cherry tomatoes fall into this category.
For greenhouse seed starting specifically, variety choice doesn’t change much. You’re starting seeds, not growing the plants to maturity in the greenhouse (unless you are, in which case determinate or dwarf varieties work better in that confined space). Pick based on what you want to eat, how much space you have in the garden, and what performs well in your climate.
Heirloom varieties tend to germinate a bit less uniformly than hybrids. If you’re growing heirlooms, sow a few extra seeds to account for that.
Choose Your Seed-Starting Mix
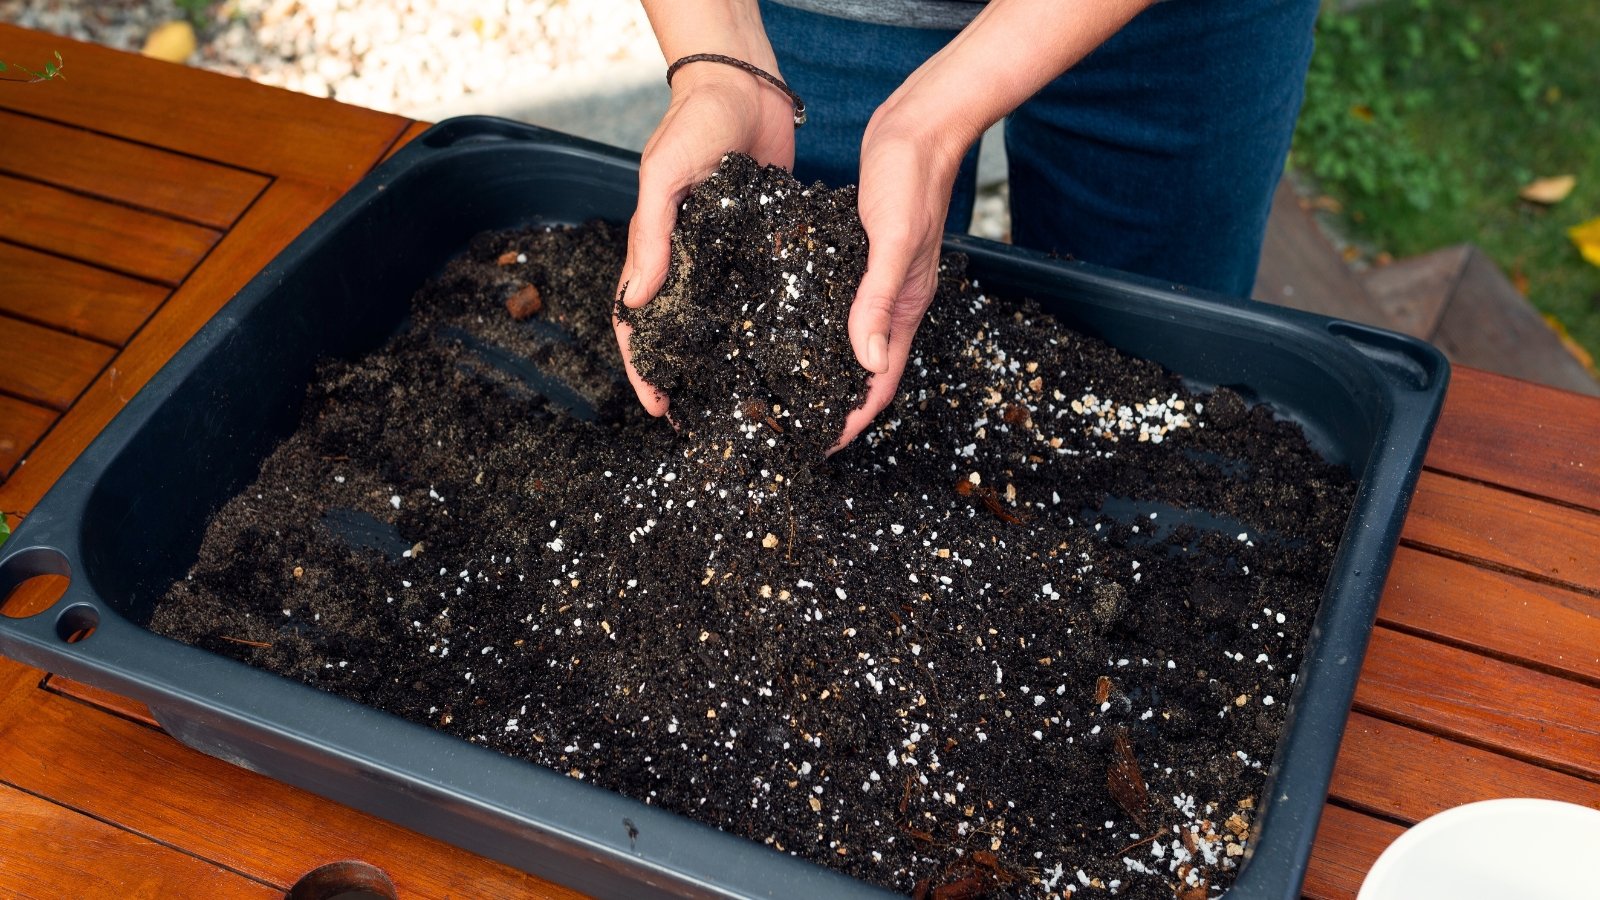
A good seed-starting mix is usually a blend of peat moss or coco coir, perlite, and vermiculite. It holds moisture without staying waterlogged and drains well enough that roots get the air they need. You can buy it premade or mix your own if you prefer.
Prepare Your Station

You need trays, a light source, and ideally a heat mat. The rest is optional.
For trayscell packs or small individual pots both work. Make sure whatever you use has drainage holes. Standard cell trays are efficient if you’re starting a lot of seeds. If you’re only growing a handful of plants, four-inch pots are fine and save you the step of potting up later.
Grow lights aren’t always necessary for tomato seeds in a greenhouse, especially if you’re starting seeds in mid to late spring when the days are long. But if you’re starting in late winter or early spring, supplemental light keeps seedlings from getting leggy. Position the lights two to three inches above the tops of the seedlings and raise them as the plants grow. Keep lights on for 14 to 16 hours a day.
Tomato seeds germinate best when the soil is between 70 and 80°F (21 to 27°C). Without a heat mat in a cool greenhouse, germination is slower and less consistent. Once the seedlings are up, you can turn the heat mat off. They grow best in cooler conditions after germination, around 65°F (18°C).
Sow
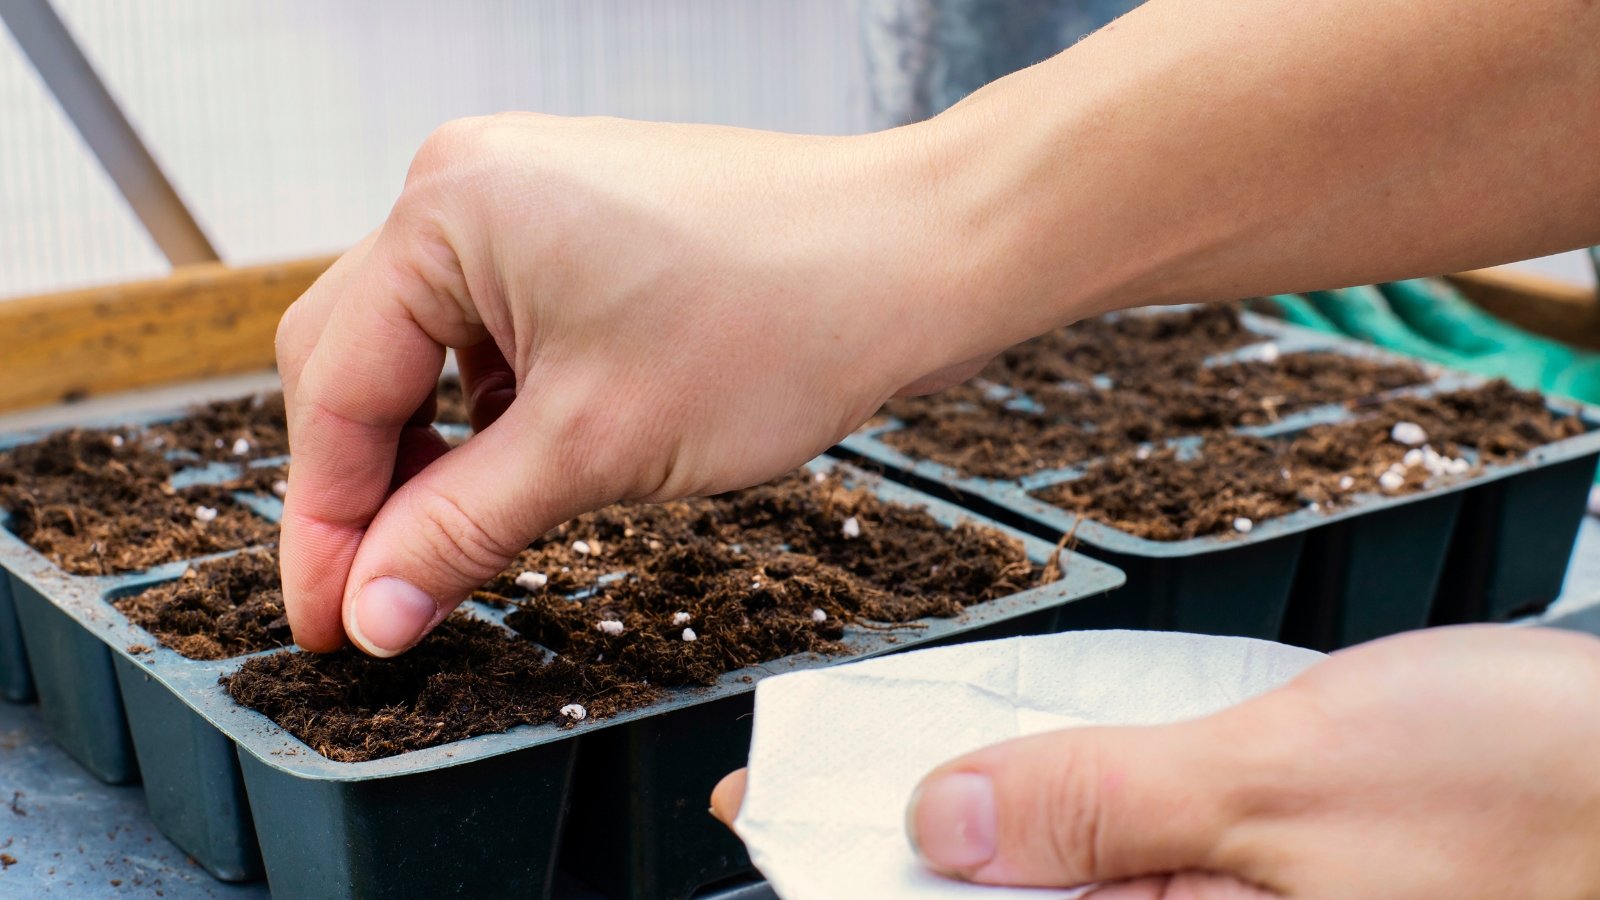
Fill your trays with the pre-moistened seed-starting mixleaving about a quarter inch of space below the rim. Press the surface lightly to level it.
Plant two seeds per cell, about a quarter inch deep. If both germinate, thin the weaker one once the seedlings have their first set of true leaves.
Cover the trays with a humidity dome or plastic wrap to hold in moisture during germination. Place them on the heat mat if you’re using one. At this stage, the seeds don’t need much light. They need warmth and consistent moisture.
Tomato seeds in a greenhouse typically germinate in five to ten days at the right temperature. As soon as you see green, remove the cover and get the trays into bright light immediately. Seedlings that spend even a day or two without adequate light after emerging will start to stretch, and once they’re leggy, they don’t fully recover.
Don’t forget to label everything. Tomato seedlings all look identical for the first few weeks, and trying to figure out which tray is which is a problem you can easily avoid with a marker and some tags.
Set Up a Fan

A small fan set on low, aimed at (or near) the seedlings, does two things. It keeps air moving across the soil surface, which discourages the fungi that cause damping off. And it forces the stems to sway, which triggers them to grow thicker and sturdier. Seedlings grown with gentle airflow are noticeably stronger than those grown in still air.
You don’t need a powerful fan. A small clip-on or desktop fan on the lowest setting is enough. Position it so the air moves over the seedlings rather than blasting directly at them. If the plants are drying out too fast, move the fan farther away or run it intermittently.
In a greenhouse, you may already have natural airflow from vents or an open door during the day. If your seedlings are getting some breeze from that, you may not need a separate fan. But in the early weeks when the greenhouse is closed up against cold, stagnant air is common, and that’s when damping off tends to strike.
Water Regularly

The goal is to keep the mix consistently moist but never saturated. If the surface is wet and shinyyou’ve given too much. If it’s pulling away from the edges of the cell and turning light brown, it’s too dry.
Water from the bottom when possible. Set the trays in a shallow container of water and let the mix absorb moisture upward through the drainage holes. This keeps the soil surface drier (which helps prevent damping off) and encourages roots to grow downward toward the water source.
Once the seedlings have their first set of true leaves, you can start feeding with a diluted liquid fertilizer at half strengthonce a week. The seed-starting mix has very little nutrition in itand by this point, the seedlings benefit from extra fuel to keep growing.
Transplant

When your seedlings have two or three sets of true leaves and the stem is thick enough, they’re ready to pot up into larger containers. This usually happens four weeks after sowing. Move them into four-inch pots filled with potting mix (not seed-starting mix, which is too light for larger plants).
When you pot up, bury the stem deeper than it was sitting before. Tomatoes produce roots along any buried stem, so planting them deeper gives you a stronger root system. You can bury them up to just below the lowest set of leaves.
Before the seedlings go into the garden, harden them off. This means gradually exposing them to outdoor conditions over the course of about a week. Start with a few hours in a shaded, sheltered spot. Each day, give them a bit more sun and a bit more time outside. By the end of the week, they should be spending full days outdoors and can handle direct sun.
Transplant into the garden after your last frost date, when nighttime temperatures are consistently above 50°F (10°C). Plant them deep again, burying two-thirds of the stem if possible. Water well at planting and mulch around the base to hold moisture and moderate soil temperature.