

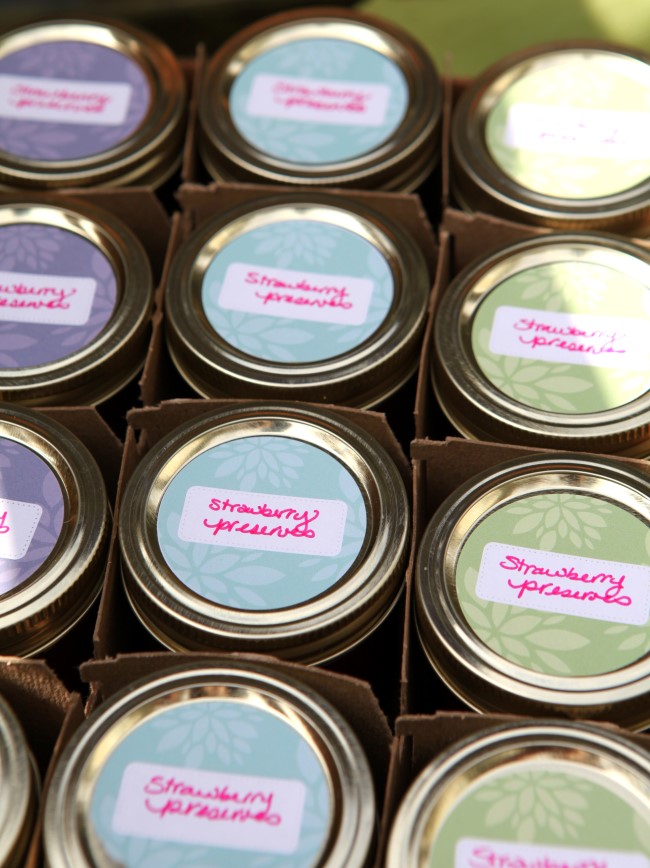
Shouldn’t the label you add to a jar of homemade jam or pickles look as beautiful as the tasty treat inside? I’m a big believer in presentation and think that dressing up a jar of jelly with a pretty label is well worth it, if even for your own enjoyment. But if you choose to mark your homemade creation with a Sharpie for home use, there is no doubt in my mind that these printable canning labels will become indispensable when gift-giving.

I’m sure that you make far more than you can ever consume. If you have a plum tree, peaches, or bees, you certainly can’t eat every last drop of sweet goodness that comes from your garden. Even if you are purchasing farm-fresh produce, it makes sense just to can a bunch and share them with others.
Homemade preserves make for welcome hostess and teacher gifts, and they are handy to have available when entertaining. I know that, as a jam-maker, I get a heck of a lot more dinner invites when I have a fresh batch of jam that I’m raving about.
Over the years, I have created a number of designs for printable labels, and I have them all available for free download. You simply have to print them and cut them out. Then you can dress your culinary creations for gift-giving. You can see all of the different templates at the end of the DIY instructions.
Let’s get into it!
How to Print Canning Labels
I like to add the labels to the top of the jar, on the Mason jar snap lid. This way, there is no sticky glue mess to clean up when reusing the jar. These circular designs come in both 2″ and 2.5″ sizes that are perfect for regular-mouth jars and wide-mouth jars, respectively.
Print them on full-sheet labels and cut them out with a craft punch if you plan to do many of them. The materials are inexpensive and handy to have if you can year after year. This will also make quick work of large batches for wedding favours or other events.
Materials
")
Make It!
- Print the labels on a full-sheet shipping label or on a nice, heavy-stock, glossy paper made for laser printers. Buy the best quality shipping label you can find. I like glossy paper for these. Printing can be done with a colour laser printer at home (do not use an ink jet printer as that will smudge when wet) or by taking the file to a printing house.
- Use a 2″ or a 2.5″ hole punch (available at craft stores or online) to cut out each label, or if you don’t want to invest in one of those fancy tools, cut by hand with sharp scissors.
- If using plain paper, cover the back of each label with spray adhesive according to directions on the can, or use another type of fairly dry glue (don’t use white glue or the label will pucker).
- Apply the labels to your homemade creations and revel in the beauty you have brought to the world.

Printable Templates
These basic templates are ideal for year-round use. They’re available in both 2″ and 2.5″ templates.
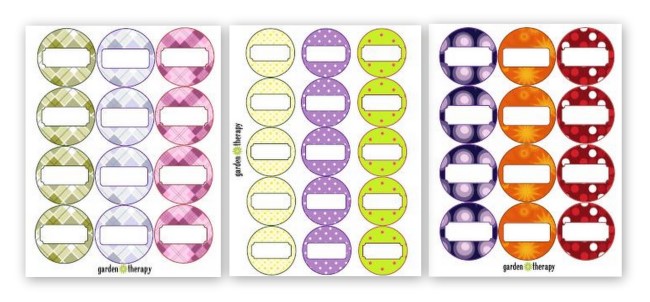
This template is perfect for jams and jellies.
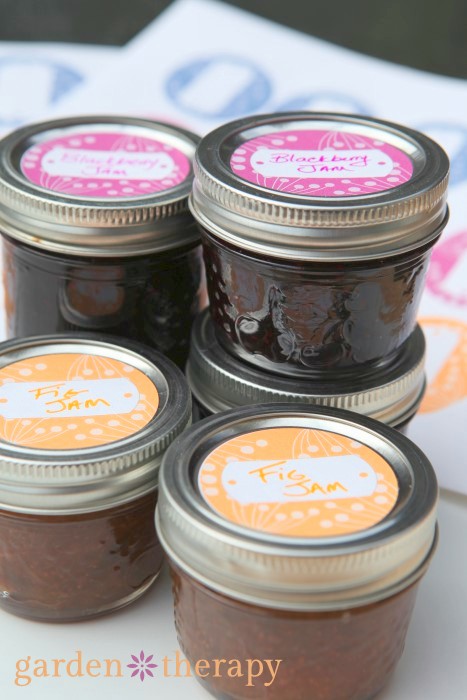
Free Canning Labels: Berries Design
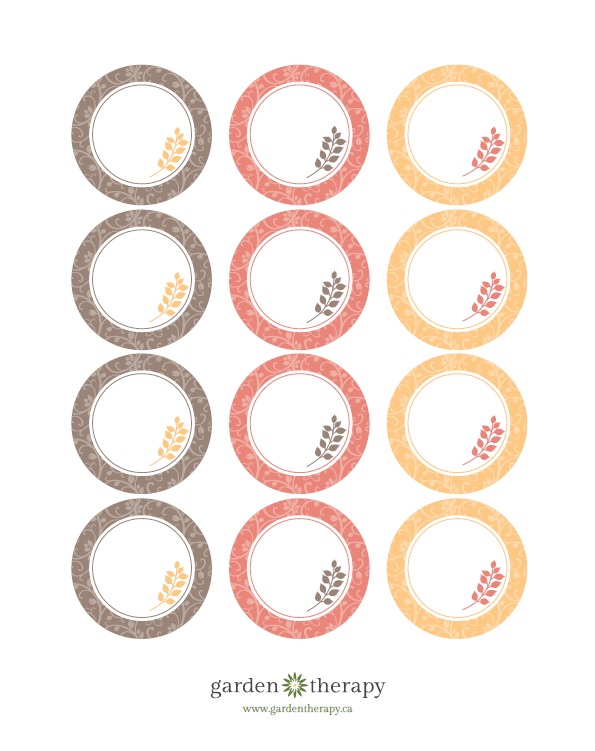
I made this design specifically for fall harvests!
Fall Harvest Canning Label Design
You can see even more homemade packaging and kitchen gifts in my eBook, Sugar & Spice: Handmade Gifts from the Kitchenwith over 40 ideas for gifts to cook up and give away.
Get Inspired With These Canning Recipes
A city girl who learned to garden and it changed everything. Author, artist, Master Gardener. Better living through plants.
