

You’ll need space to grow flaxseeds, but because the seeds are so viable, you don’t have to have a ton of space. One four-by-six-foot raised bed will produce a lot, and so will one ten-foot row. Block out this area before you plant your seeds to ensure it is prepped appropriately.
While almost any pH is suitable for growing flax, you do need an aerated, well-draining soil. Loose soils are easier to work with, and fertile soils produce the best seed. Use compost and perlite or agricultural grit to break up heavier soils. Add compost to sandy soils.
If your soil is heavily compacted, till it to provide aeration. If you’re a cover cropper, you can pre-plant daikon radishes to aerate the soil gently before the spring season begins. Weed the site well to prevent them from overtaking the area before your seeds sprout.
Step 3: Plant Your Seeds
You can start your seeds directly in the ground as soon as frost passes in spring. You’re going to need 90 to 120 days to grow flaxseeds, so ensure your season is long enough for that. If it’s not, you can use a sealed cold frame to protect your seedlings and mature plants at the beginning and end of the season.
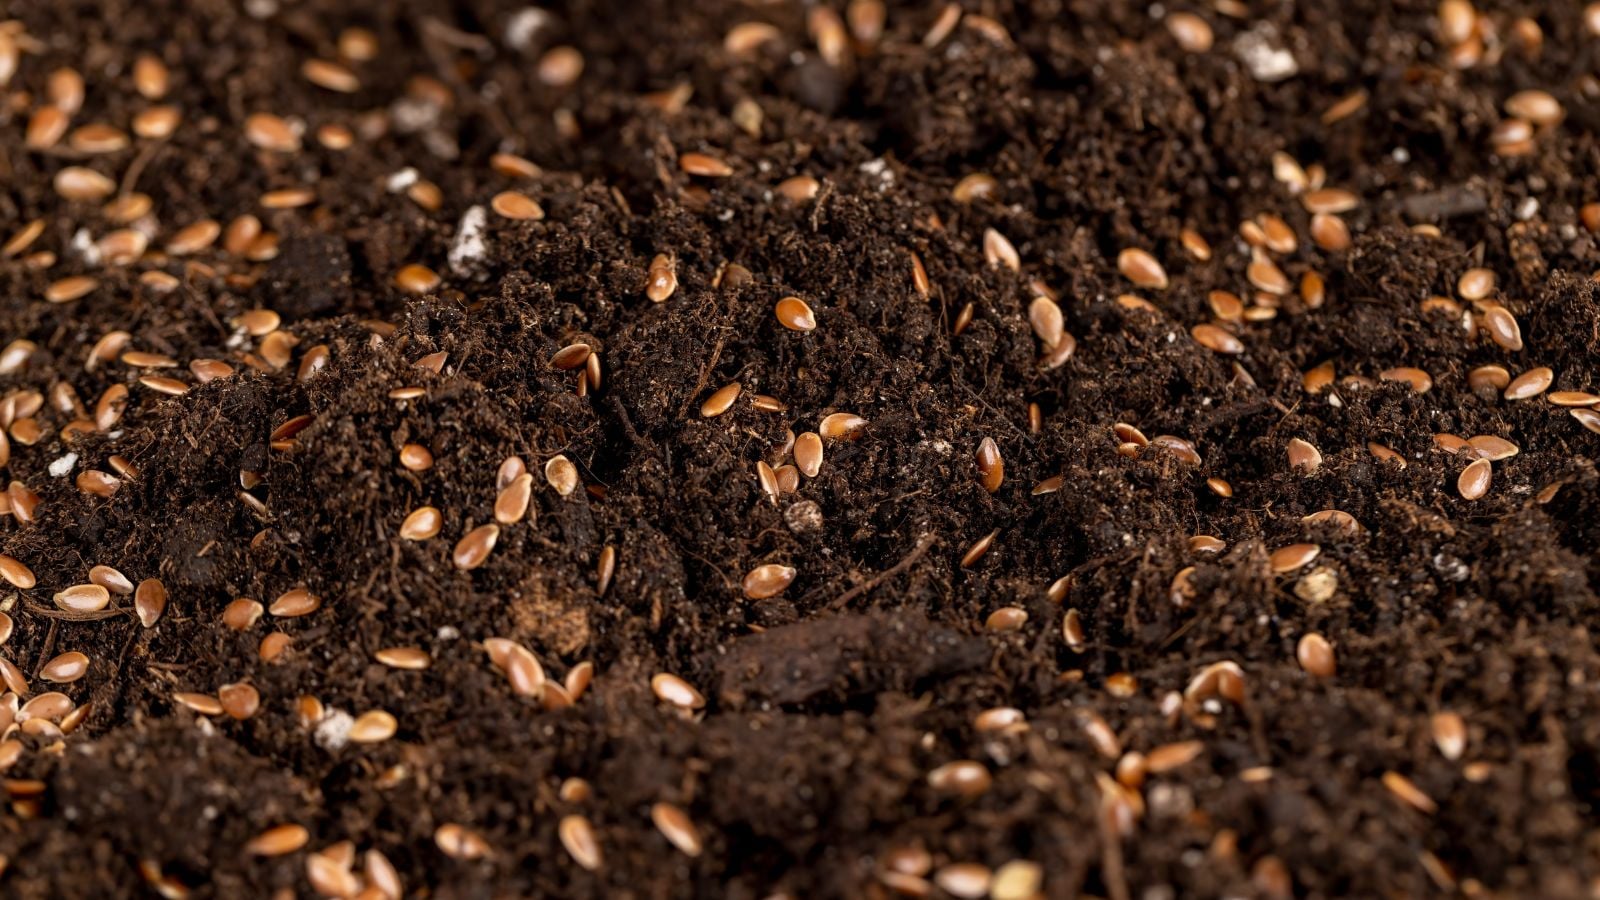
Convention recommendations say sow at least a pound of seeds per 10-foot by 10-foot area. Alternatively, you can grid your growing space by square feet. Then, densely sow 30 to 50 seeds per square foot. Ensure the seeds are dry when you sow them, as they develop mucilage when they come into contact with water, making even spreading difficult.
After you cast them across the soil surface, lightly cover them with a thin layer of soil. Then gently water them in. You can use a lightweight organic mulch to snuff out any weed seeds waiting to germinate alongside your seeds as well.
Step 4: Maintain Them

When you grow flaxseeds, you do not need to feed them at all. Thankfully, they’re hardy enough that they’ll take off on their own. Ensure the area remains free of weeds before the plants sprout. You don’t need to water much after the plants are established, especially if rain is prevalent in the season. They dislike wet feet.
If you live somewhere hot, ensure the plants get a little bit of shade in the hard afternoon sun. You may not have as much pollen production in areas where temperatures over 90°F (32°C) are common. Keep an eye out for grasshoppers, leafhoppers, and cutworms. Remove them as needed.
Also, look out for diseases. In dense plantings, rust is more common. Remove stalks that take on rust and dispose of them. The same goes for powdery mildew. Keep the soil somewhat dry as much as possible, as these tend to proliferate in humid conditions. In the process, take out any wilting plants and throw them away.
Step 5: Harvest Flaxseeds

If you get beyond the pollination stage, flax flowers will fade, and their round seedheads remain. Once these are brown and dried, the seeds are ready for harvest. This usually occurs about a month after flowering.
Grab a bunch of stems near the base, and cut them with a sharp knife. Then, shake the stems over a clean sheet or cloth. If seeds come out of the pods, they are ready for post-harvest processing. If not, dry them in an area with good air circulation for a few weeks.
Thresh the pods, and sift the plant matter from the seed. Make linseed oil by pressing them or by boiling them in a slow cooker. This part of the process can be laborious and is similar (but not as hard) as threshing wheat.

Step 6: Store Them
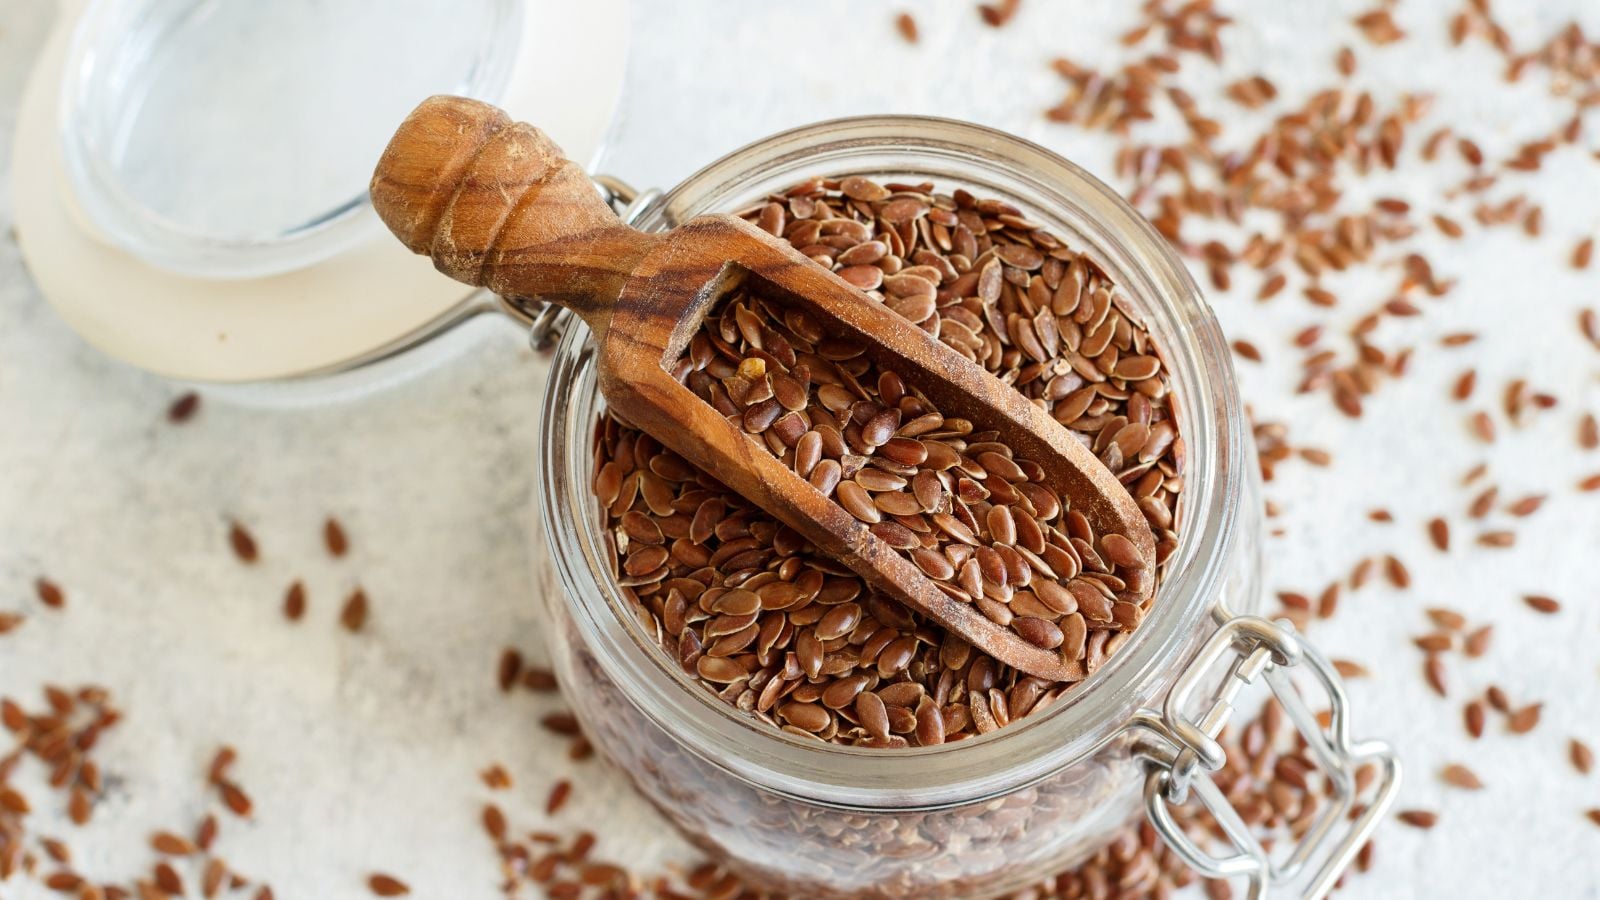
Store fresh seeds in an airtight container for one to two years at room temperature or in the freezer. In the refrigerator, they keep for one year. Ground seeds expire at six months in the refrigerator or freezer. At room temperature, flaxseed meal keeps for a couple of days.
Keep flaxseed oil in an airtight container in the refrigerator for up to one year. In the freezer, store it for six months. If you densely grow flaxseeds, you need a large container to store them in. Use a large glass mason jar, or something similar, to keep them.